Desk restoration!
Me and my family have been working for the past month or so on restoring an old desk that's been lying under the stairs for most my life, and we got it all finished today!
In this post I'll be going over the timeline of the repair, but if you'd like to skip to the end result click here!
The Timeline
The Beginning
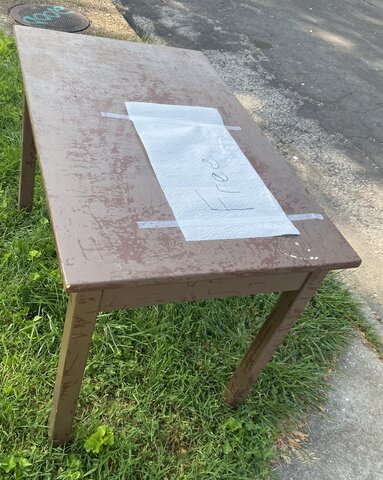
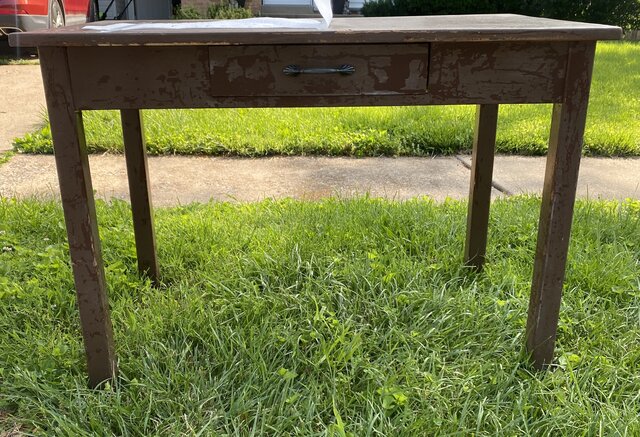
This all started back on May 21st, 2024, when we were trying to get rid of it
 |
 |
|---|
As you can see it wasn't in the... nicest of condition. The layer of paint added to it 15 or so years ago was flaking and scratched off in a ton of spots
We fully intended to get rid of it, and this would've been the end of the story of the desk
However, the city gave us a notice telling us we needed to remove it from the front yard
Which like, is ridiculous
Literally everyone here gets rid of their old stuff by putting it at the end of the road. It had been there for not 2 hours before they told us to remove it, and it was only because the house next to ours was getting a newly built thing inspected
Because of the notice, we decided to just drag the desk back to the house and deal with it later
Paint Stripping
Over the next couple of months, we debated what to do with it. Eventually we ended up on the idea of trying to restore the desk, and decided to take a crack at trying to get off some of the thickest bits of paint with some paint stripper
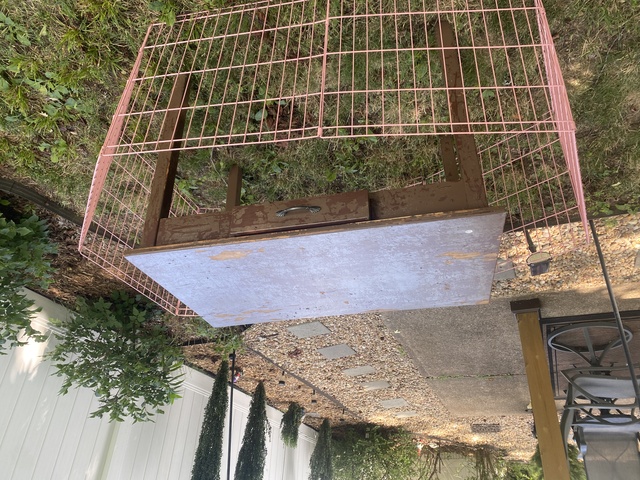
It worked pretty good! We had half expected the wood to be all trashed looking, but it was honestly really nice in the spots that had been taken all the way down to the wood.
So with that, we decided to keep going
Sanding Start
The sanding process started off quite well. The wood had a really nice look and solid feel too it with the paint off
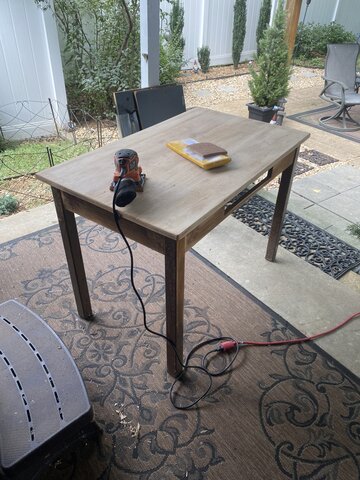
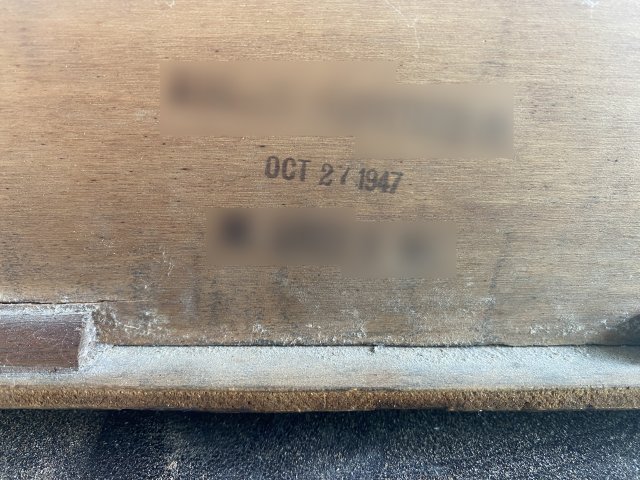
Around this time, we pulled the front drawer out all the way and found out there was a label on the back dating the construction of the desk on October 27th, 1947, making this desk 77 years old!
Sanding Cessation
The process of sanding the desk was slow work, and I didn't think at the time to grab progress photos due to how tiring it was to go at it with an automatic sander for a half hour or more at a time
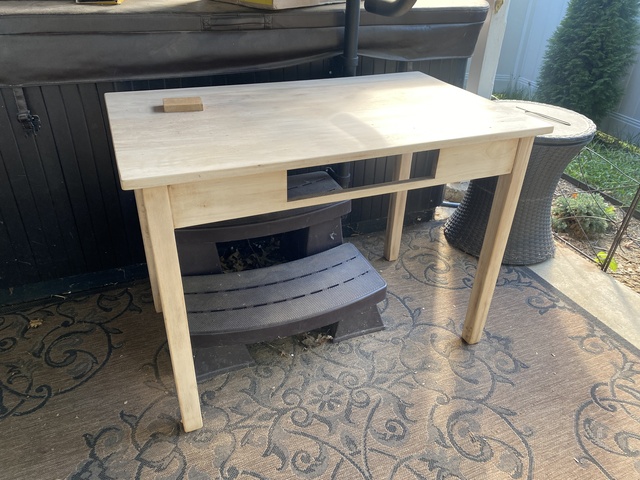
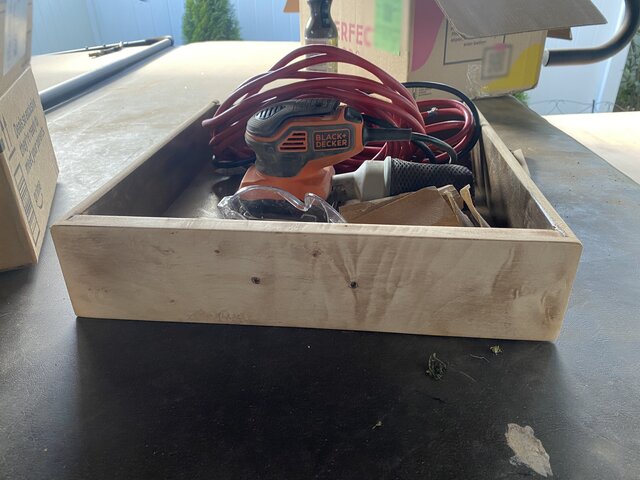
By the start of September, we finally got the sanding all finished
 |
 |
|---|---|
We were really happy with how it turned out, and I felt like it was almost a shame to have to give it a coat of stain after all the work we did to get it down to bare wood, but we knew it'd look far nicer so we opted for a color we thought would look good
Staining & Finishing Touches
On the 7th of the month we got the first coat of stain on. By the 8th, the second. And by the 10th the stain was done and we had carried it down the stairs
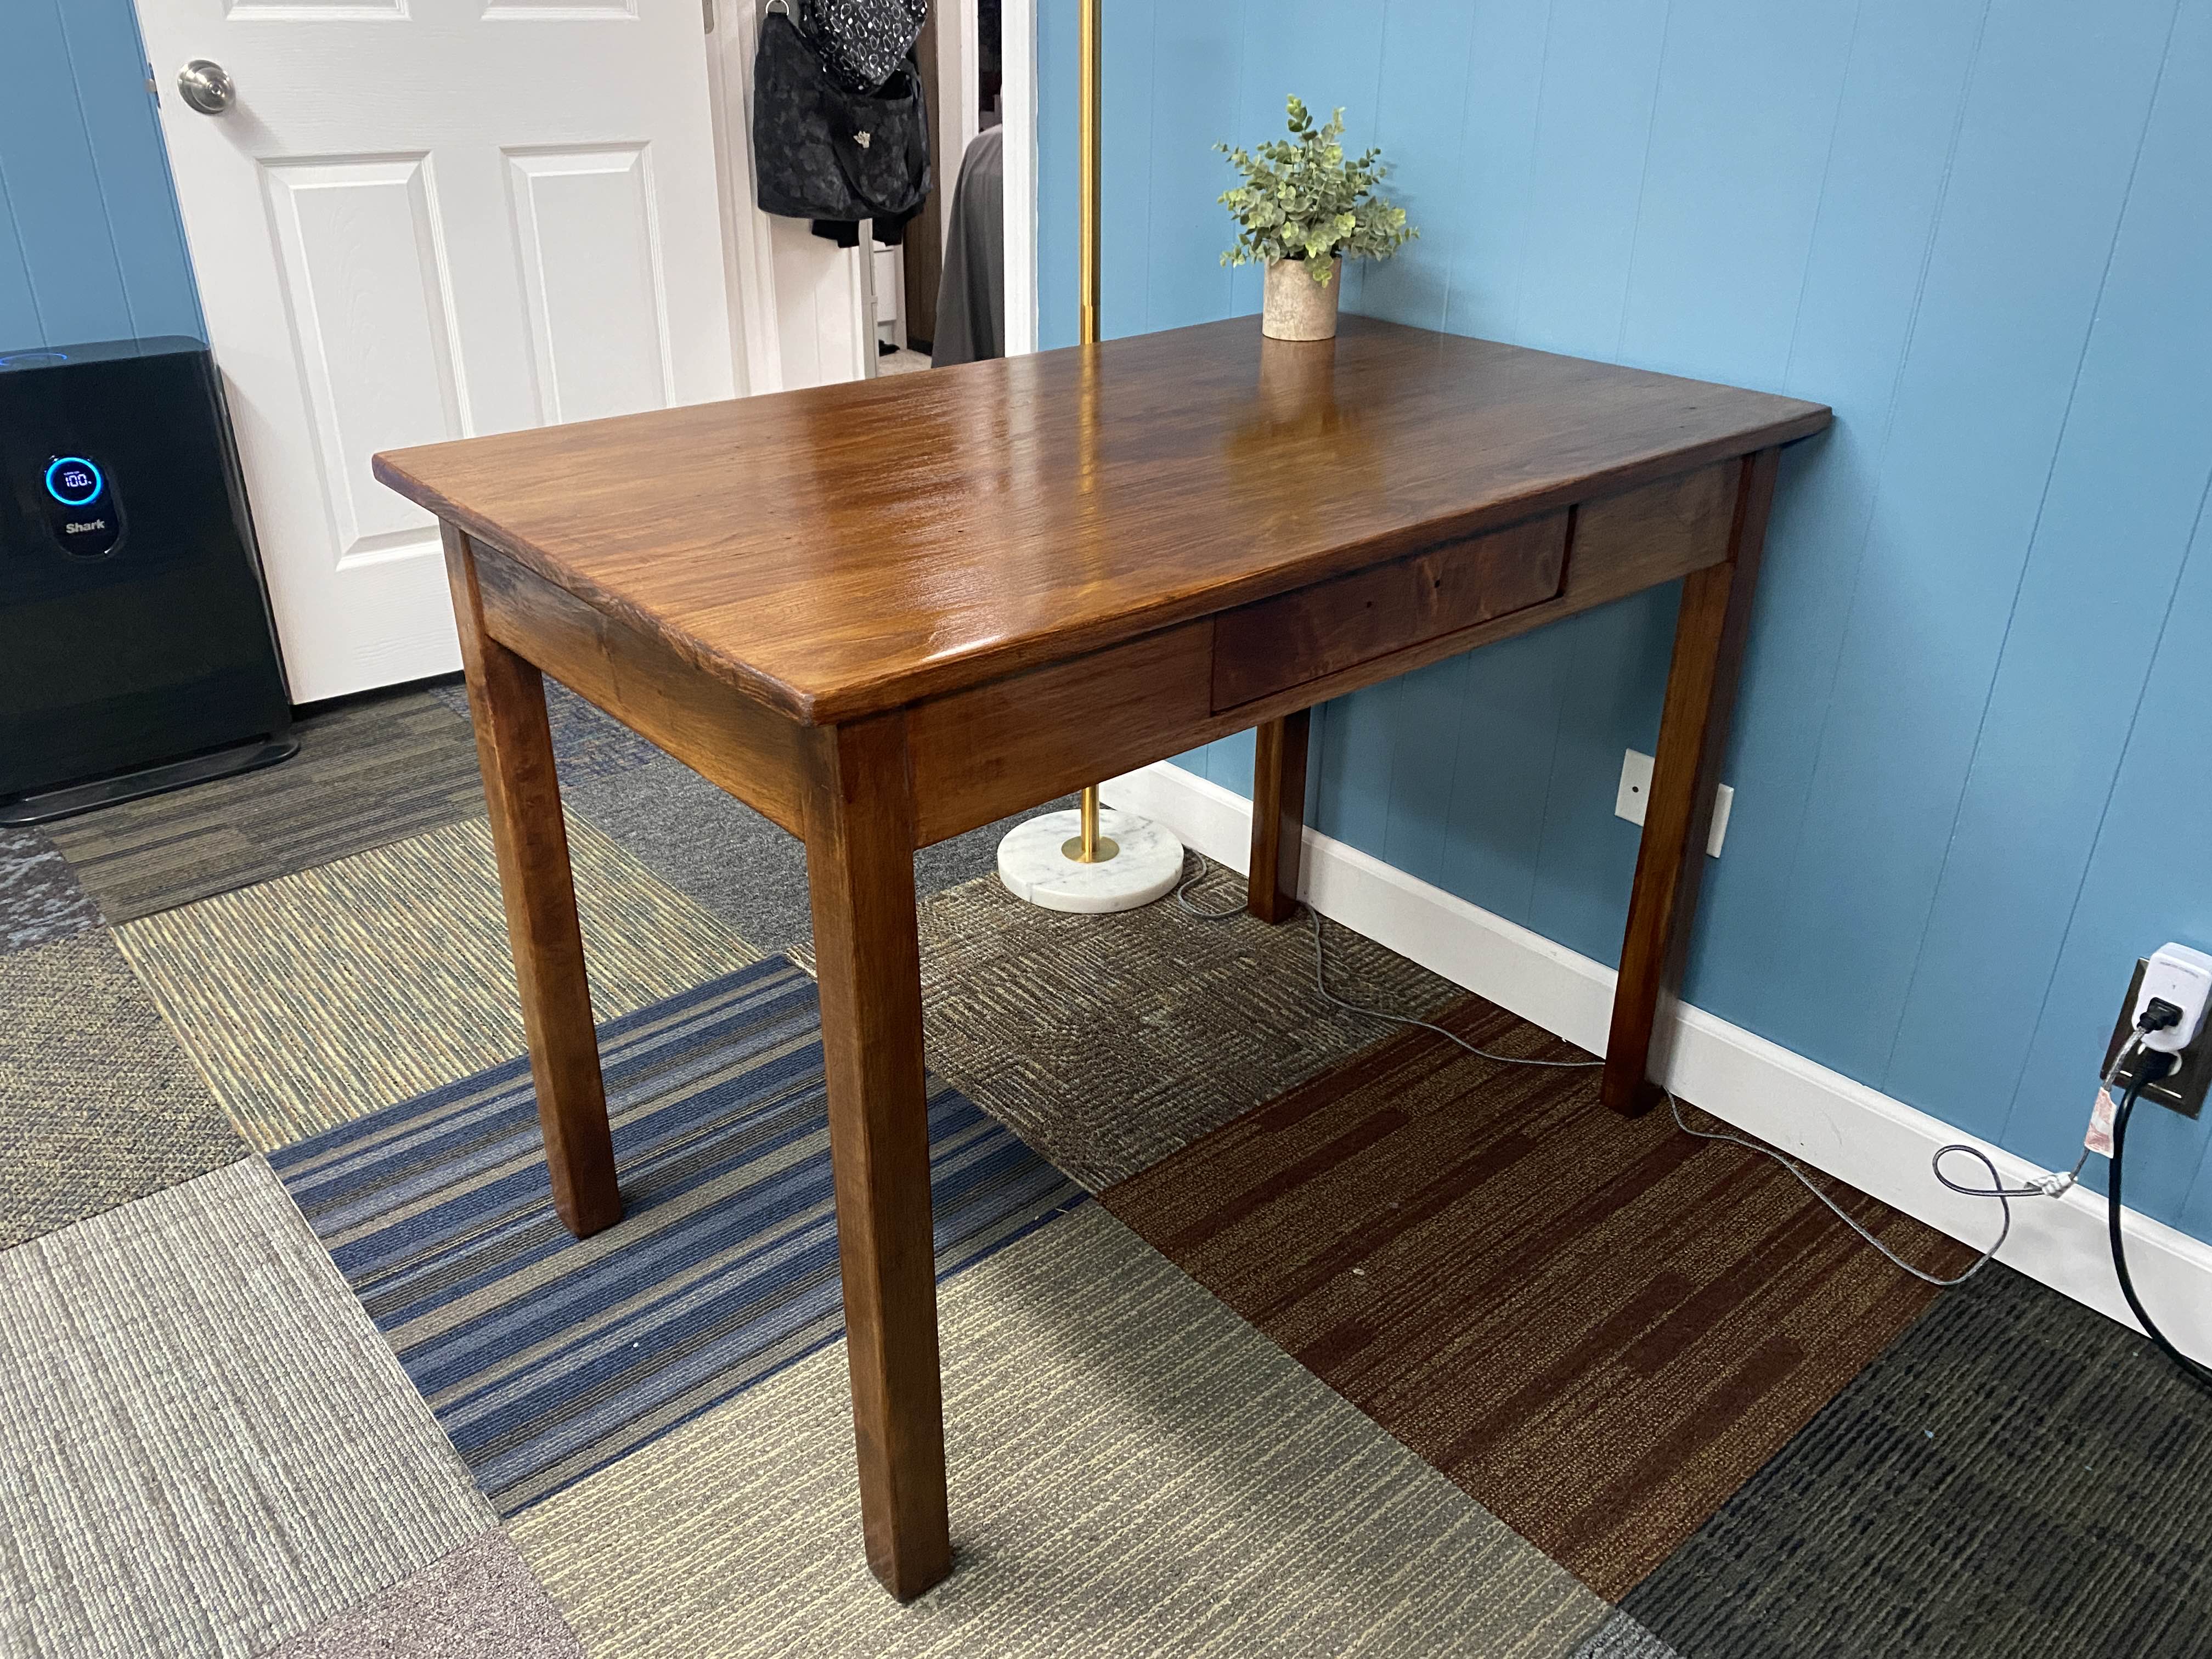
It turned out rather nicely I think!
We ordered a drawer pull for it at this same time, which we had thought would take at least a week to arrive, but only took two days and showed up earlier this day
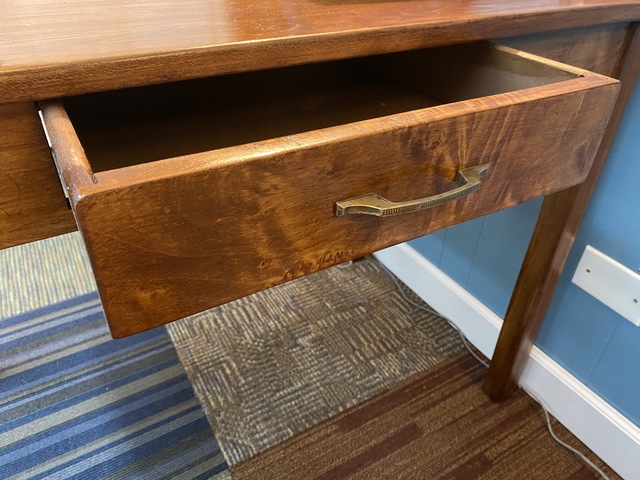
It was... almost perfect. The design was quite nice, but it was a bit overly scuffed up, so I gave it a polish with some brasso and a scrub in the sink, and....
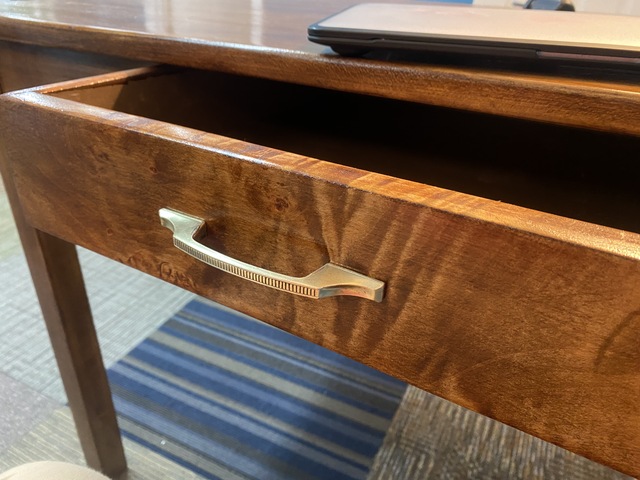
Now it's perfect ^w^
Closing Thoughts
Edit: Photo Added 9/12/24
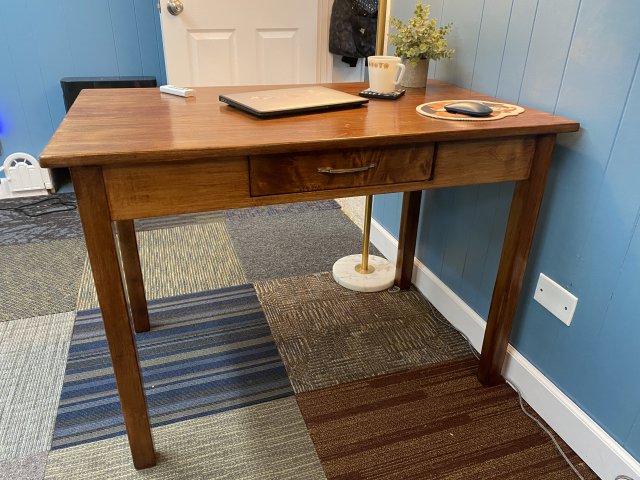
I'm really happy with how this desk turned out! I love how the handle turned out, the stain looks really nice, and the overall design is pleasant to look at.
Obviously far nicer than anything I could've bought new for the price we paid for materials. I believe everything put together came up to $70, between the stain, brushes, sandpaper, paint stripper, and new handle. Had we gone for cheaper options on all those things we likely could've cut that down to almost nothing.
Anything I would've bought from IKEA or Amazon for this price would've been made of cardboard
9/10, would recommend restoring things. Far more affordable than buying new things, just requires the ability to invest some time and energy into it.