Keyboard Tray Saga
Keyboard Tray Part 1
Just got a new keyboard tray!
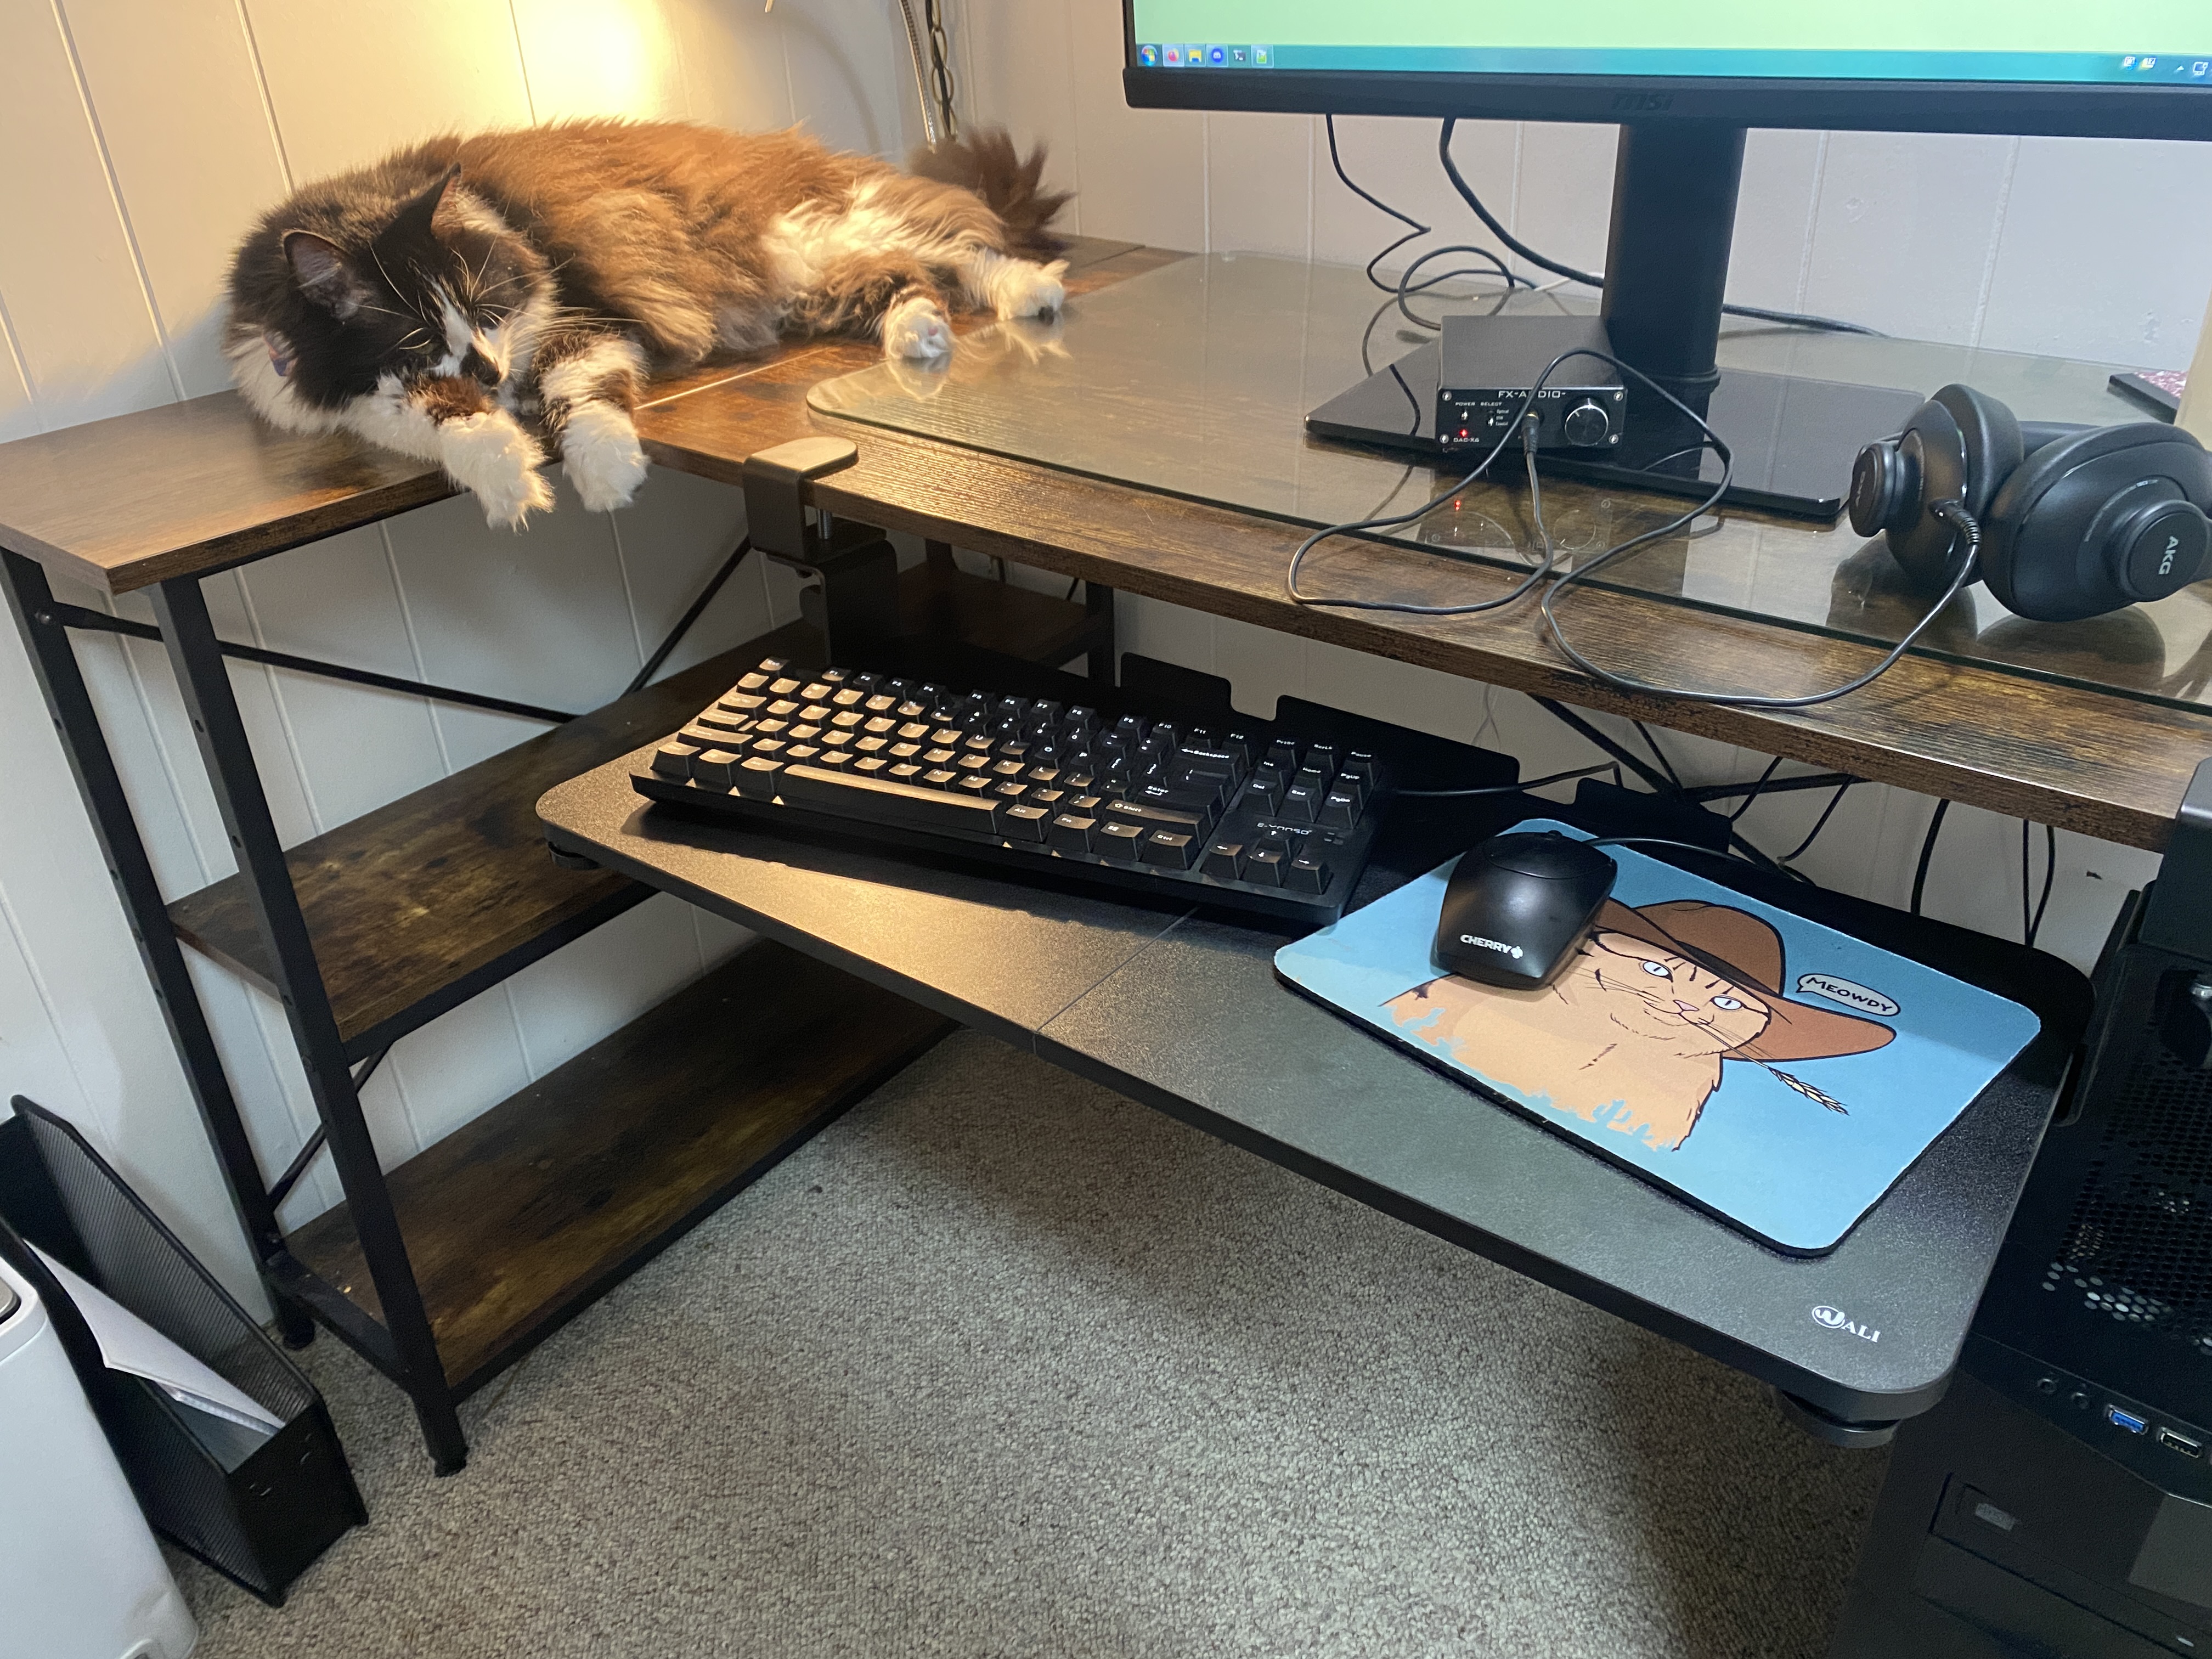
The desk & chair combo at this setup had some height issues, with the desk being too high and the chair too low, and neither with height adjustability. So I was needing to either sit on my legs constantly, stretch my arms weirdly, or play with the keyboard directly on my lap. None of the above was really all that comfortable to do for any long stretch of time, so I decided to get a keyboard tray
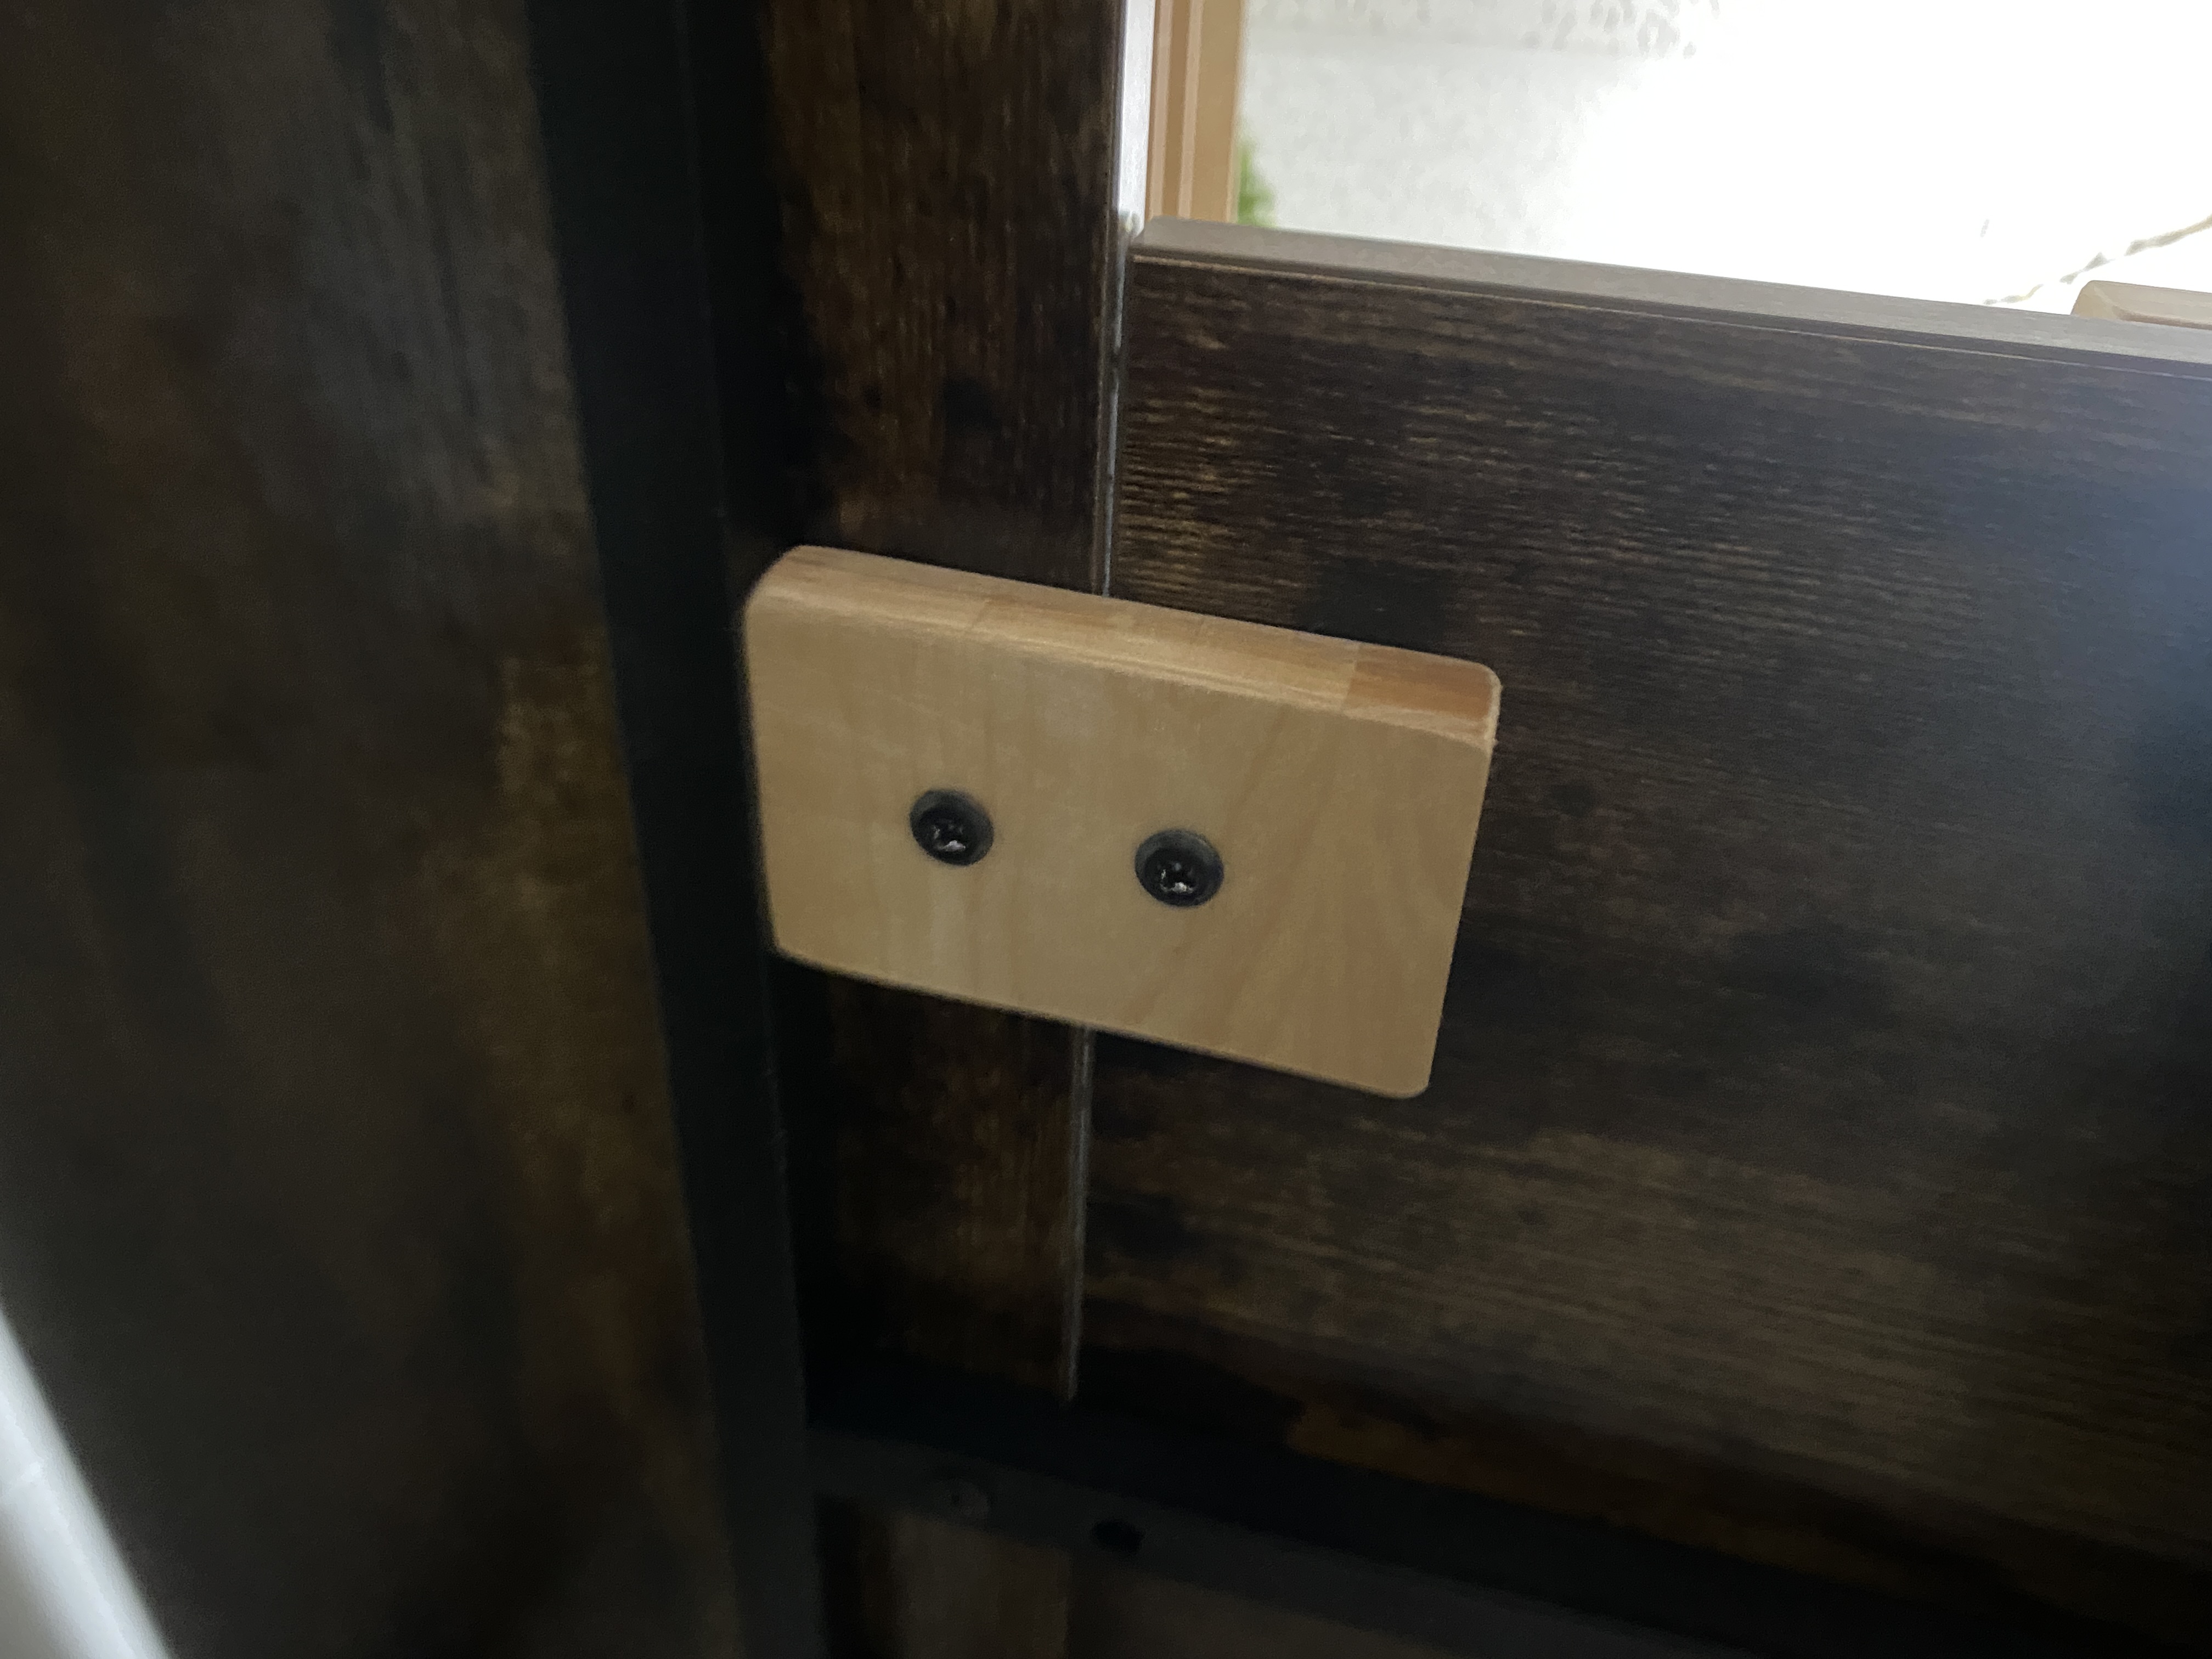
This mostly solves all the issues I had, but the way it mounts left it an inch too low and running into my legs, and there's no way to adjust the height of the tray within the mechanism. This left me with only two real practical ways I could go about raising it up; either add a shim to the top between the clamp and desk, or remove the top clamp and drill directly into the table itself through the holes that currently go into the clamp
Soooo....
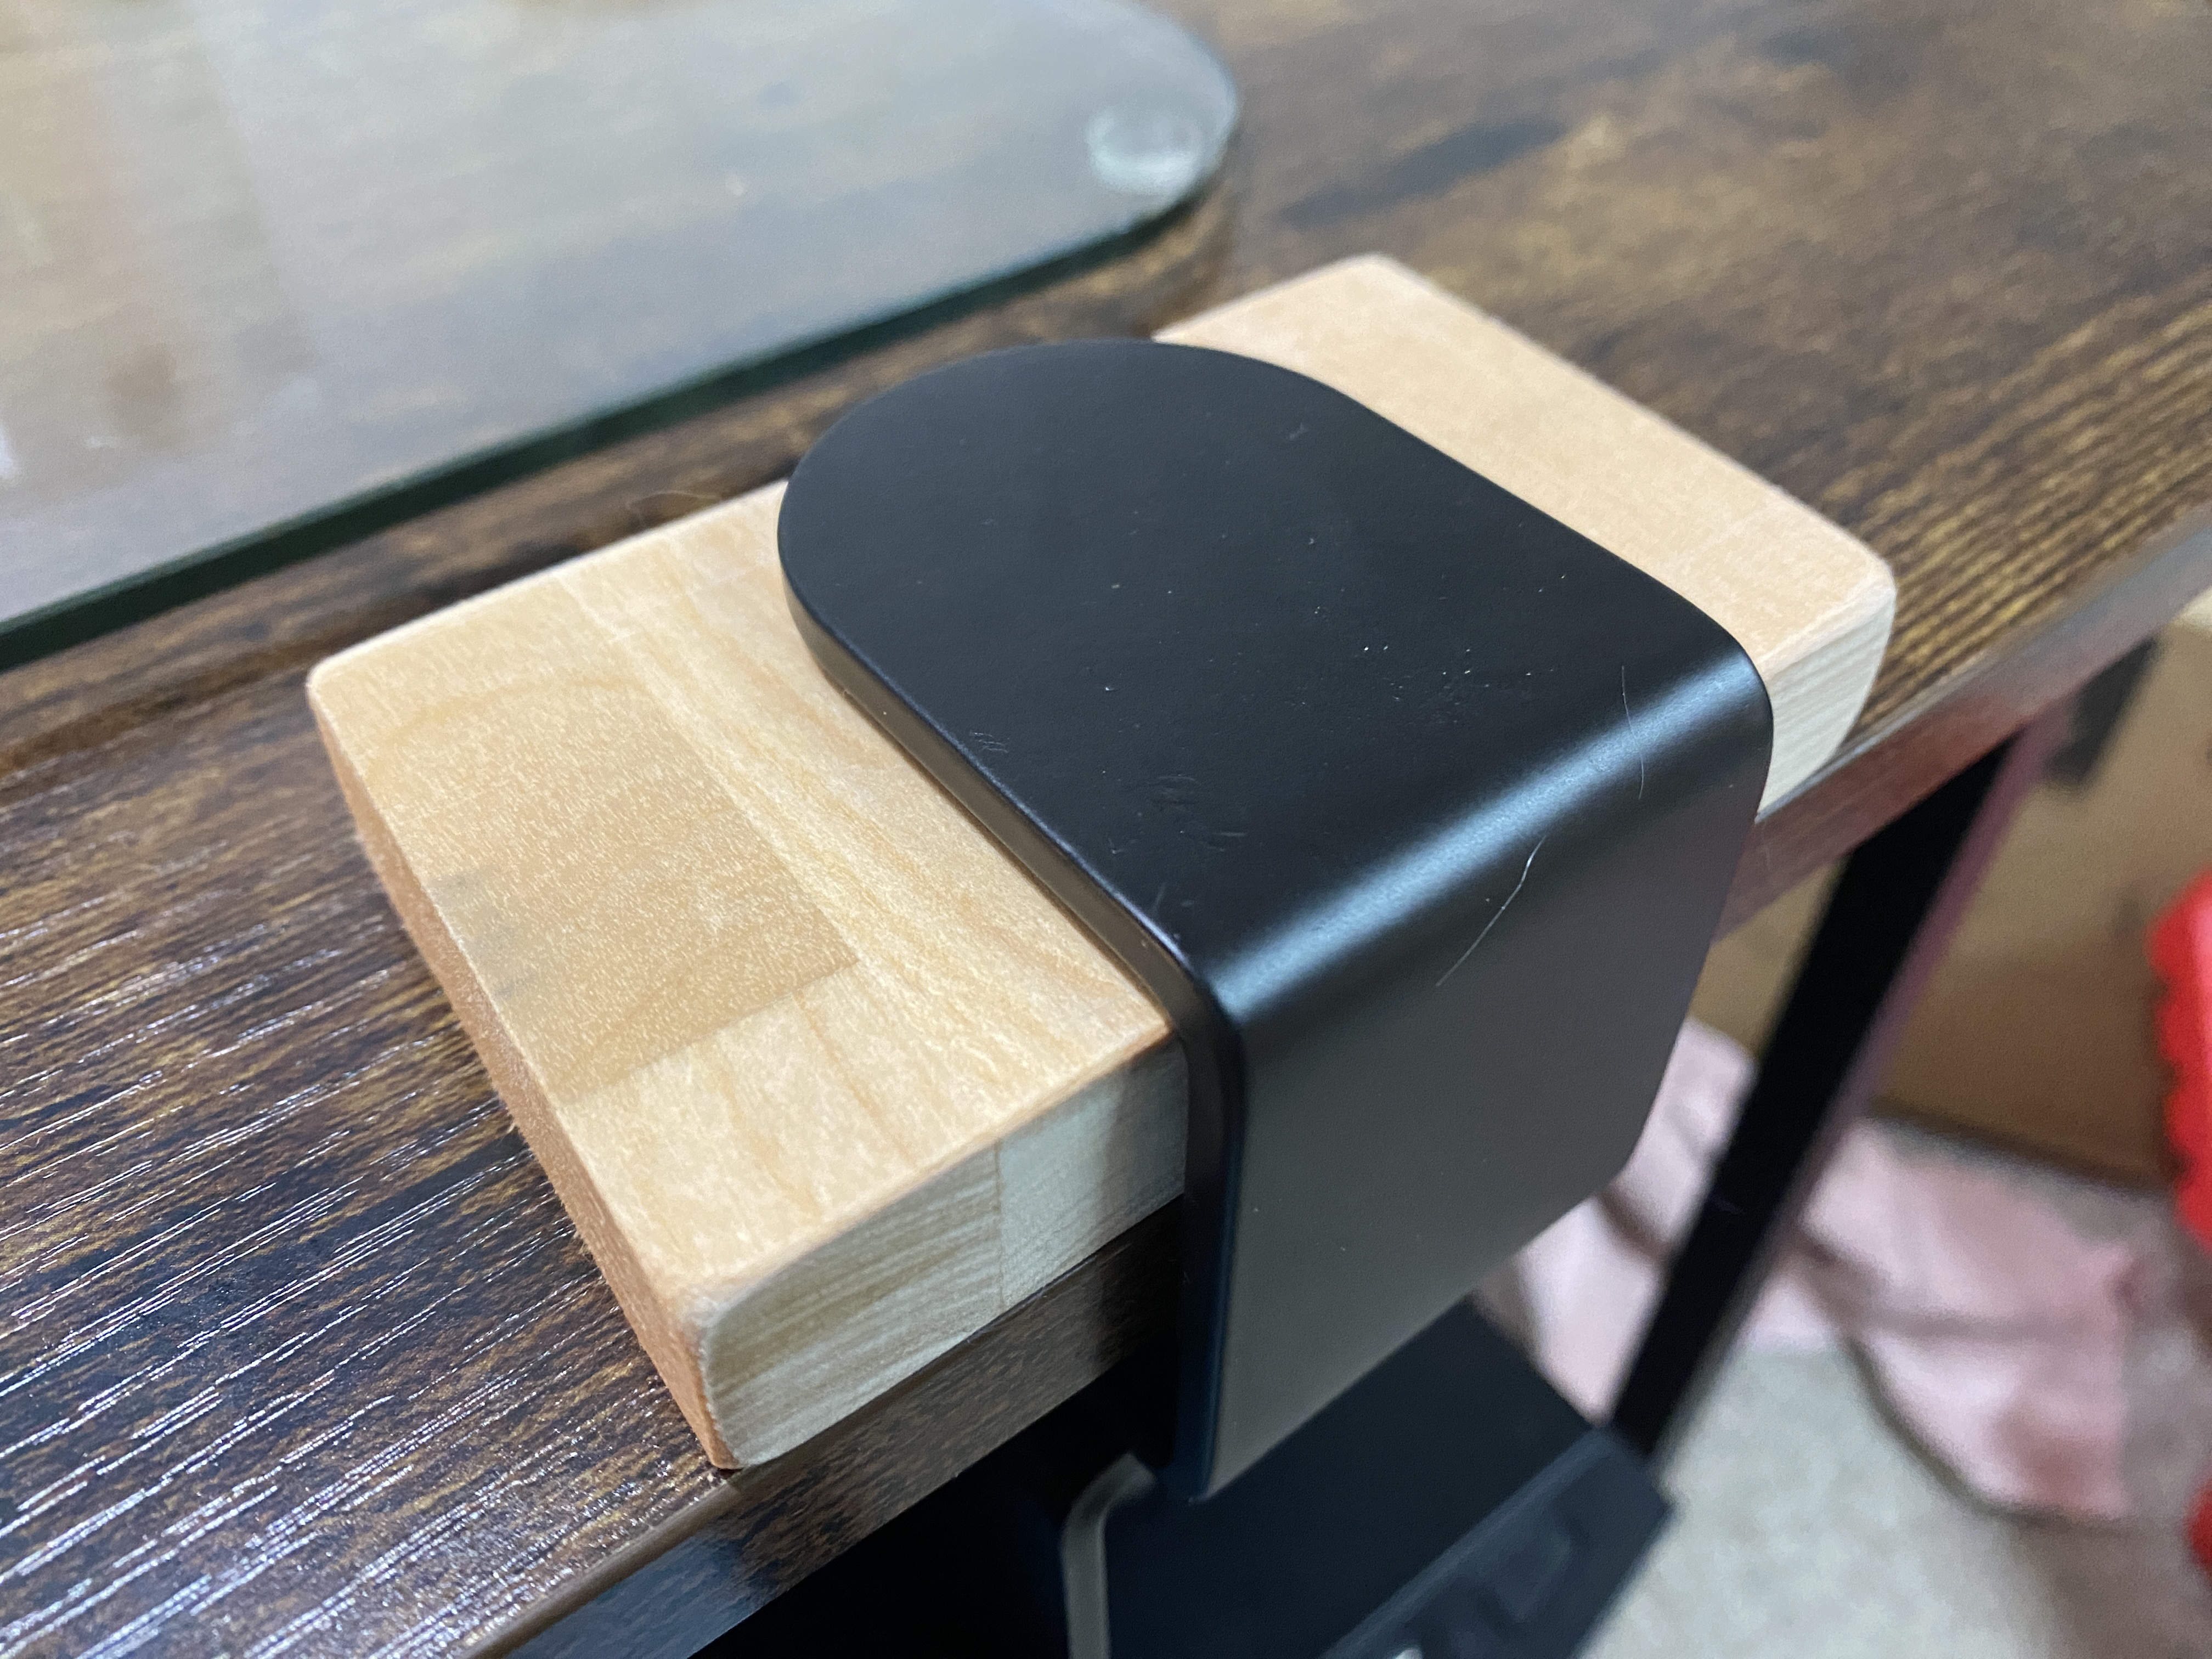
This is a bit cursed looking, but it's so many orders of magnitude more comfortable, so it's entirely worth it. I should probably stain them to get them more similar looking to the rest of the desk top, but functionally this is perfect.
If I decide to opt for the more time-consuming method of directly screwing it into the desk and ditching the clamps, the shims I made will be needed for that as well. The "wood" making up the desk top is too thin and weak to securely mount the tray onto, so it'll need the wood shims glued onto the bottom to give the screws more material to hold onto.
All in all, this tray is working out well so far, and after adding them shims it's solved most of the ergonomics problems with this computer setup.
Keyboard Tray Part 2
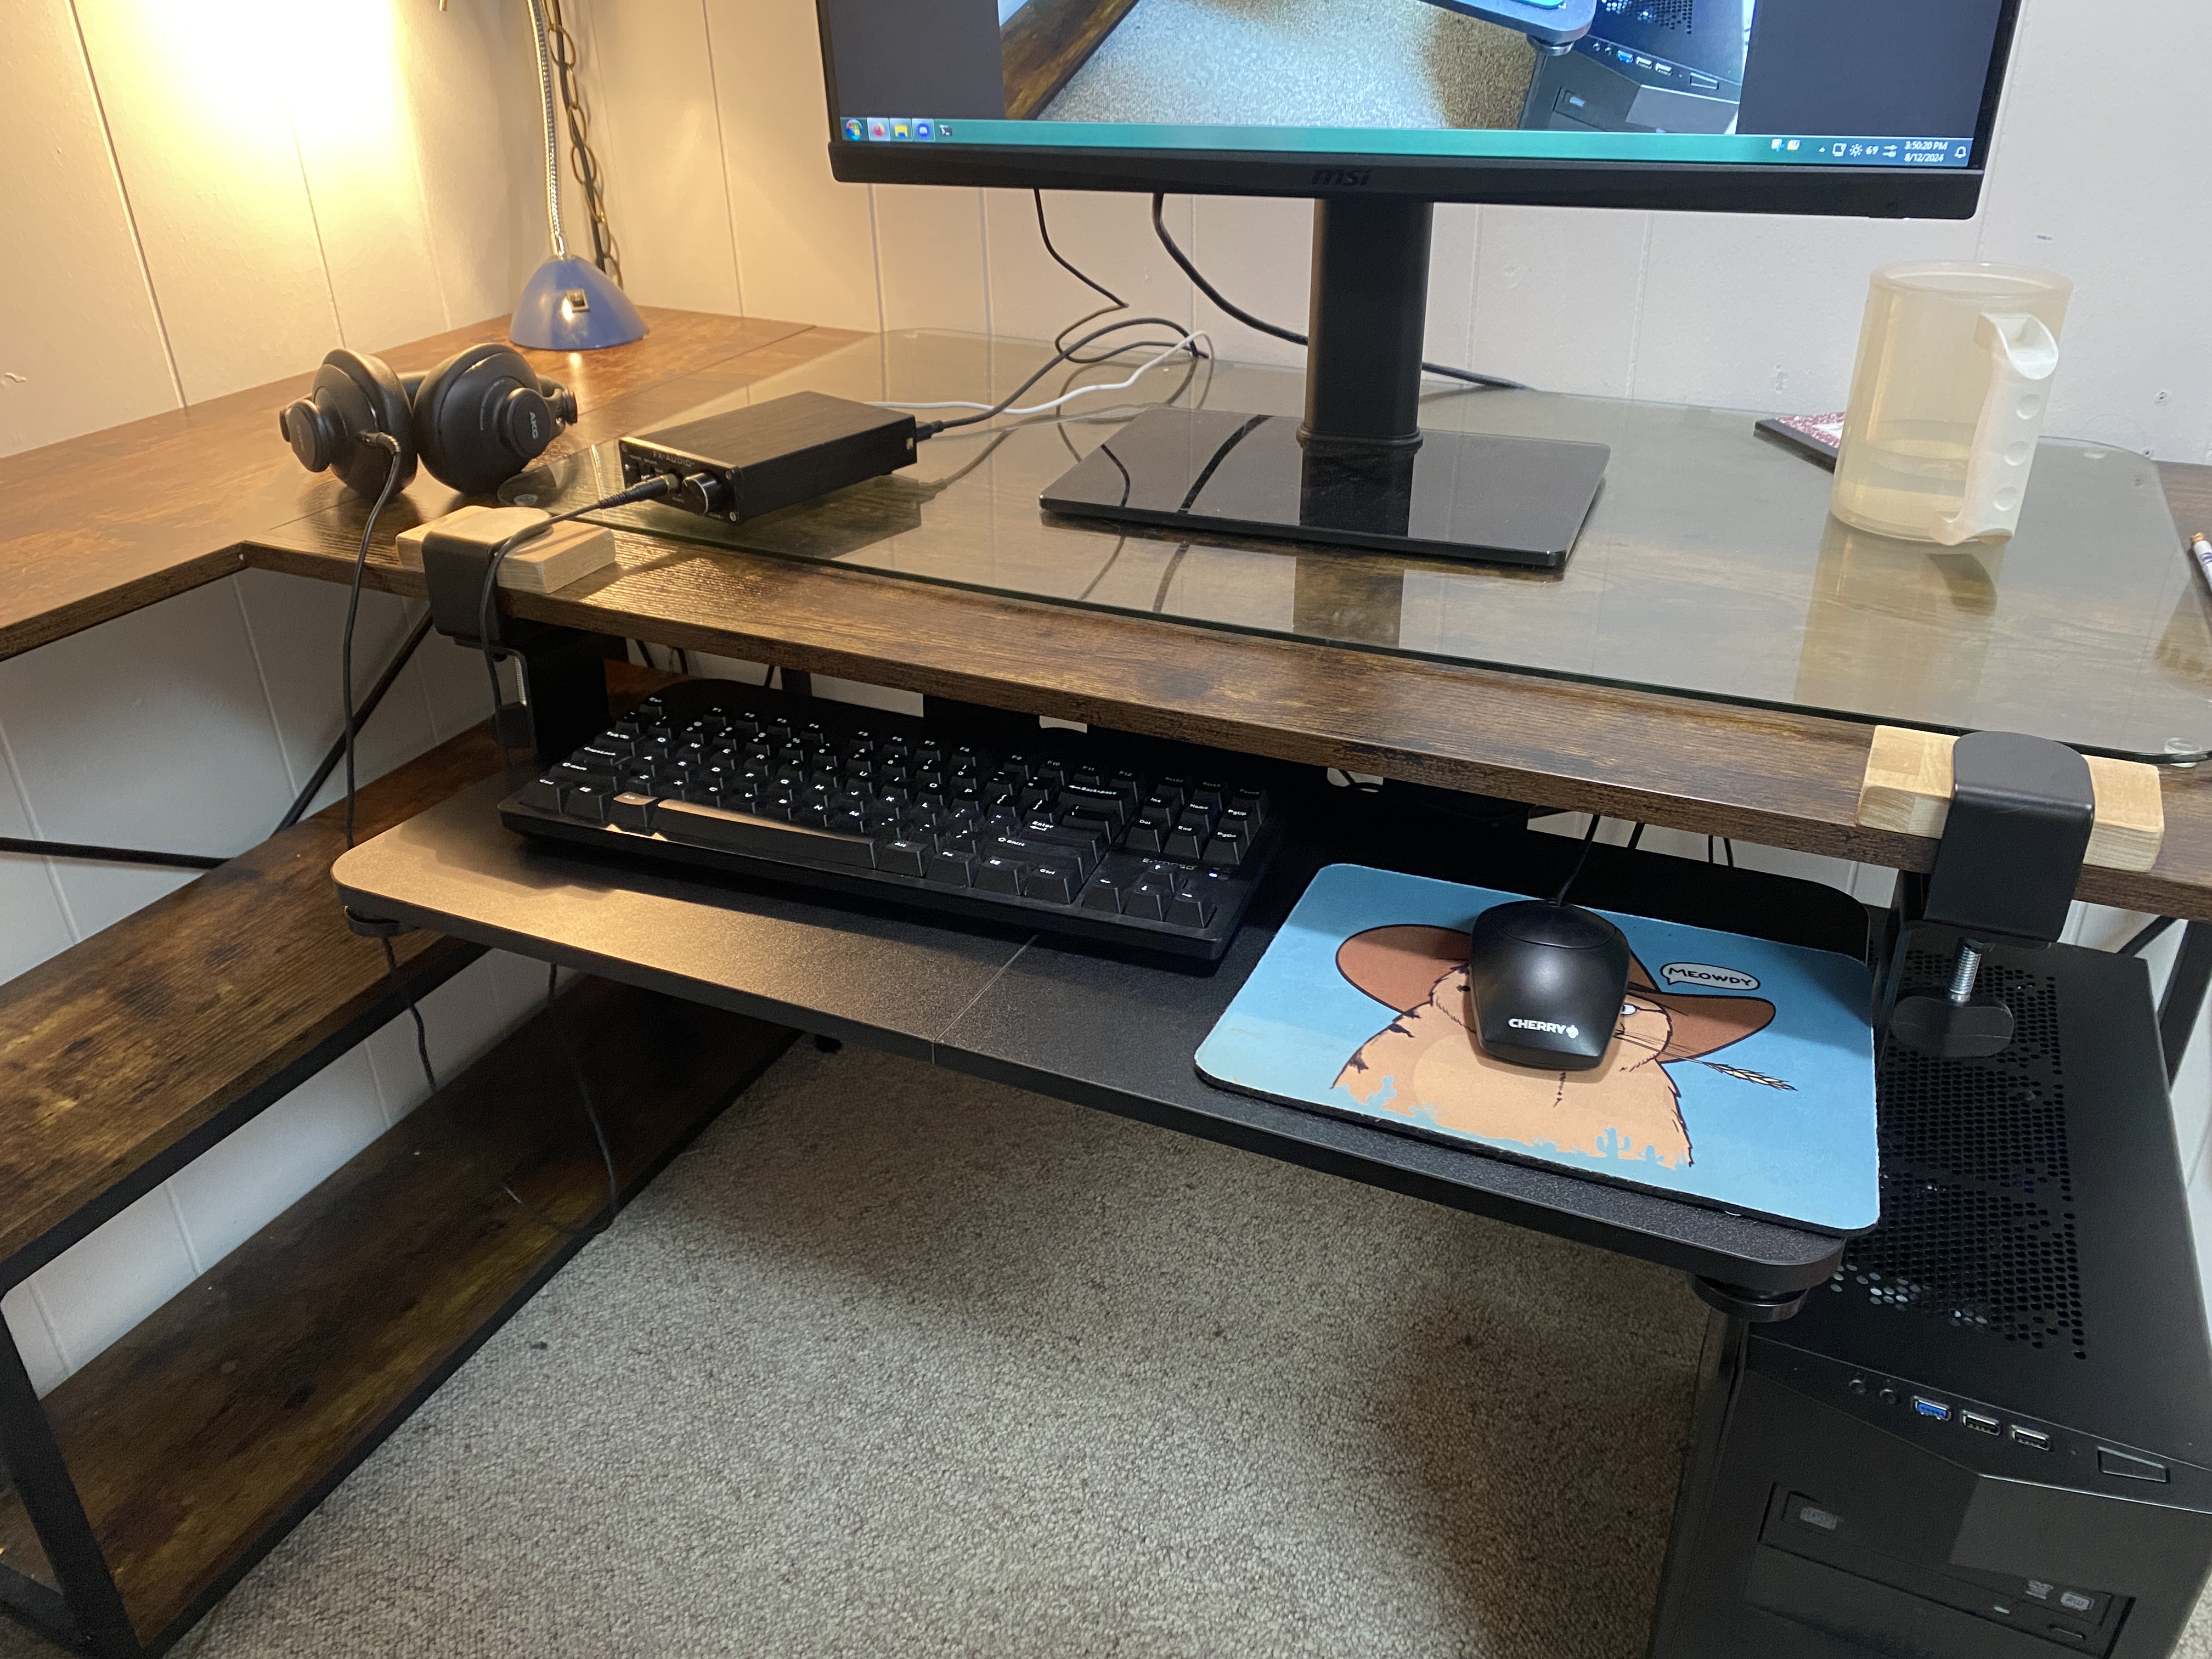
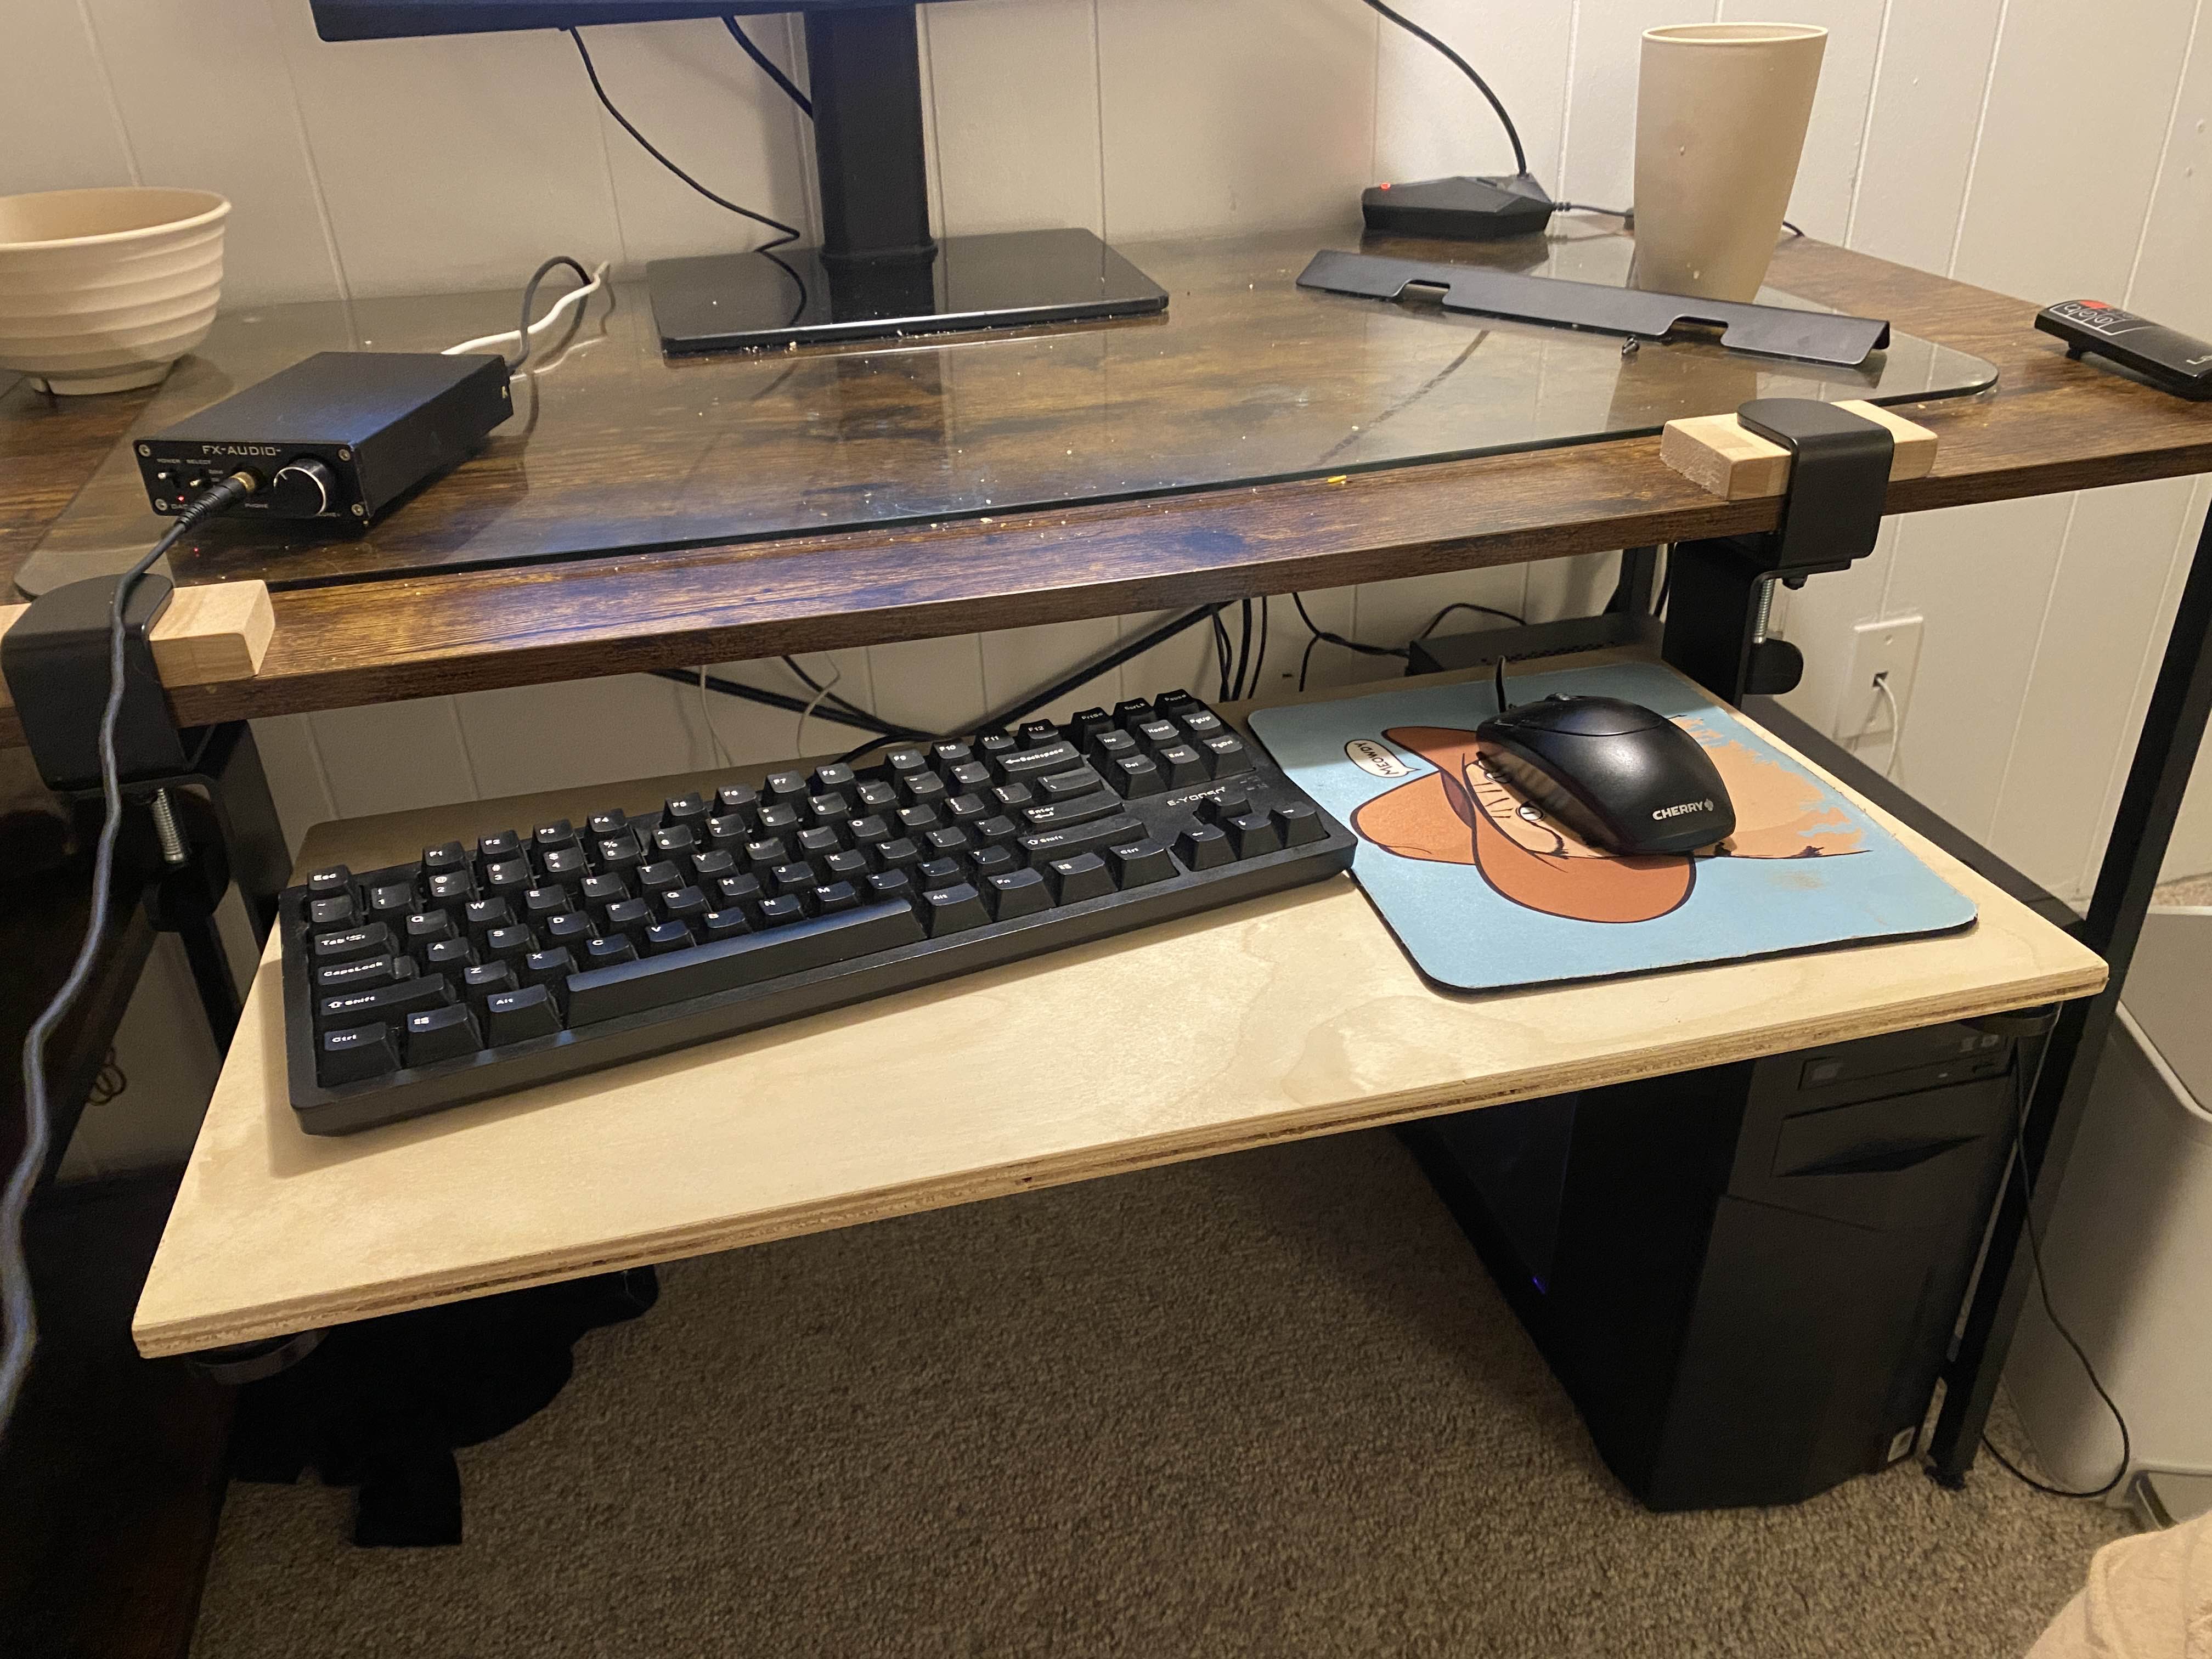
A couple days ago I got a new keyboard tray for my desk, and since then I've done a bit more tinkering to make it more comfortable to use.
When I'd try to use the keyboard/mouse when the tray was fully retracted into the desk, my hands would be running into a crossbar running across the front. I realized looking at it that there were almost all the right holes to mount it in the middle, so I went ahead and moved it over. Only needed to drill one new hole through the right side crossbar
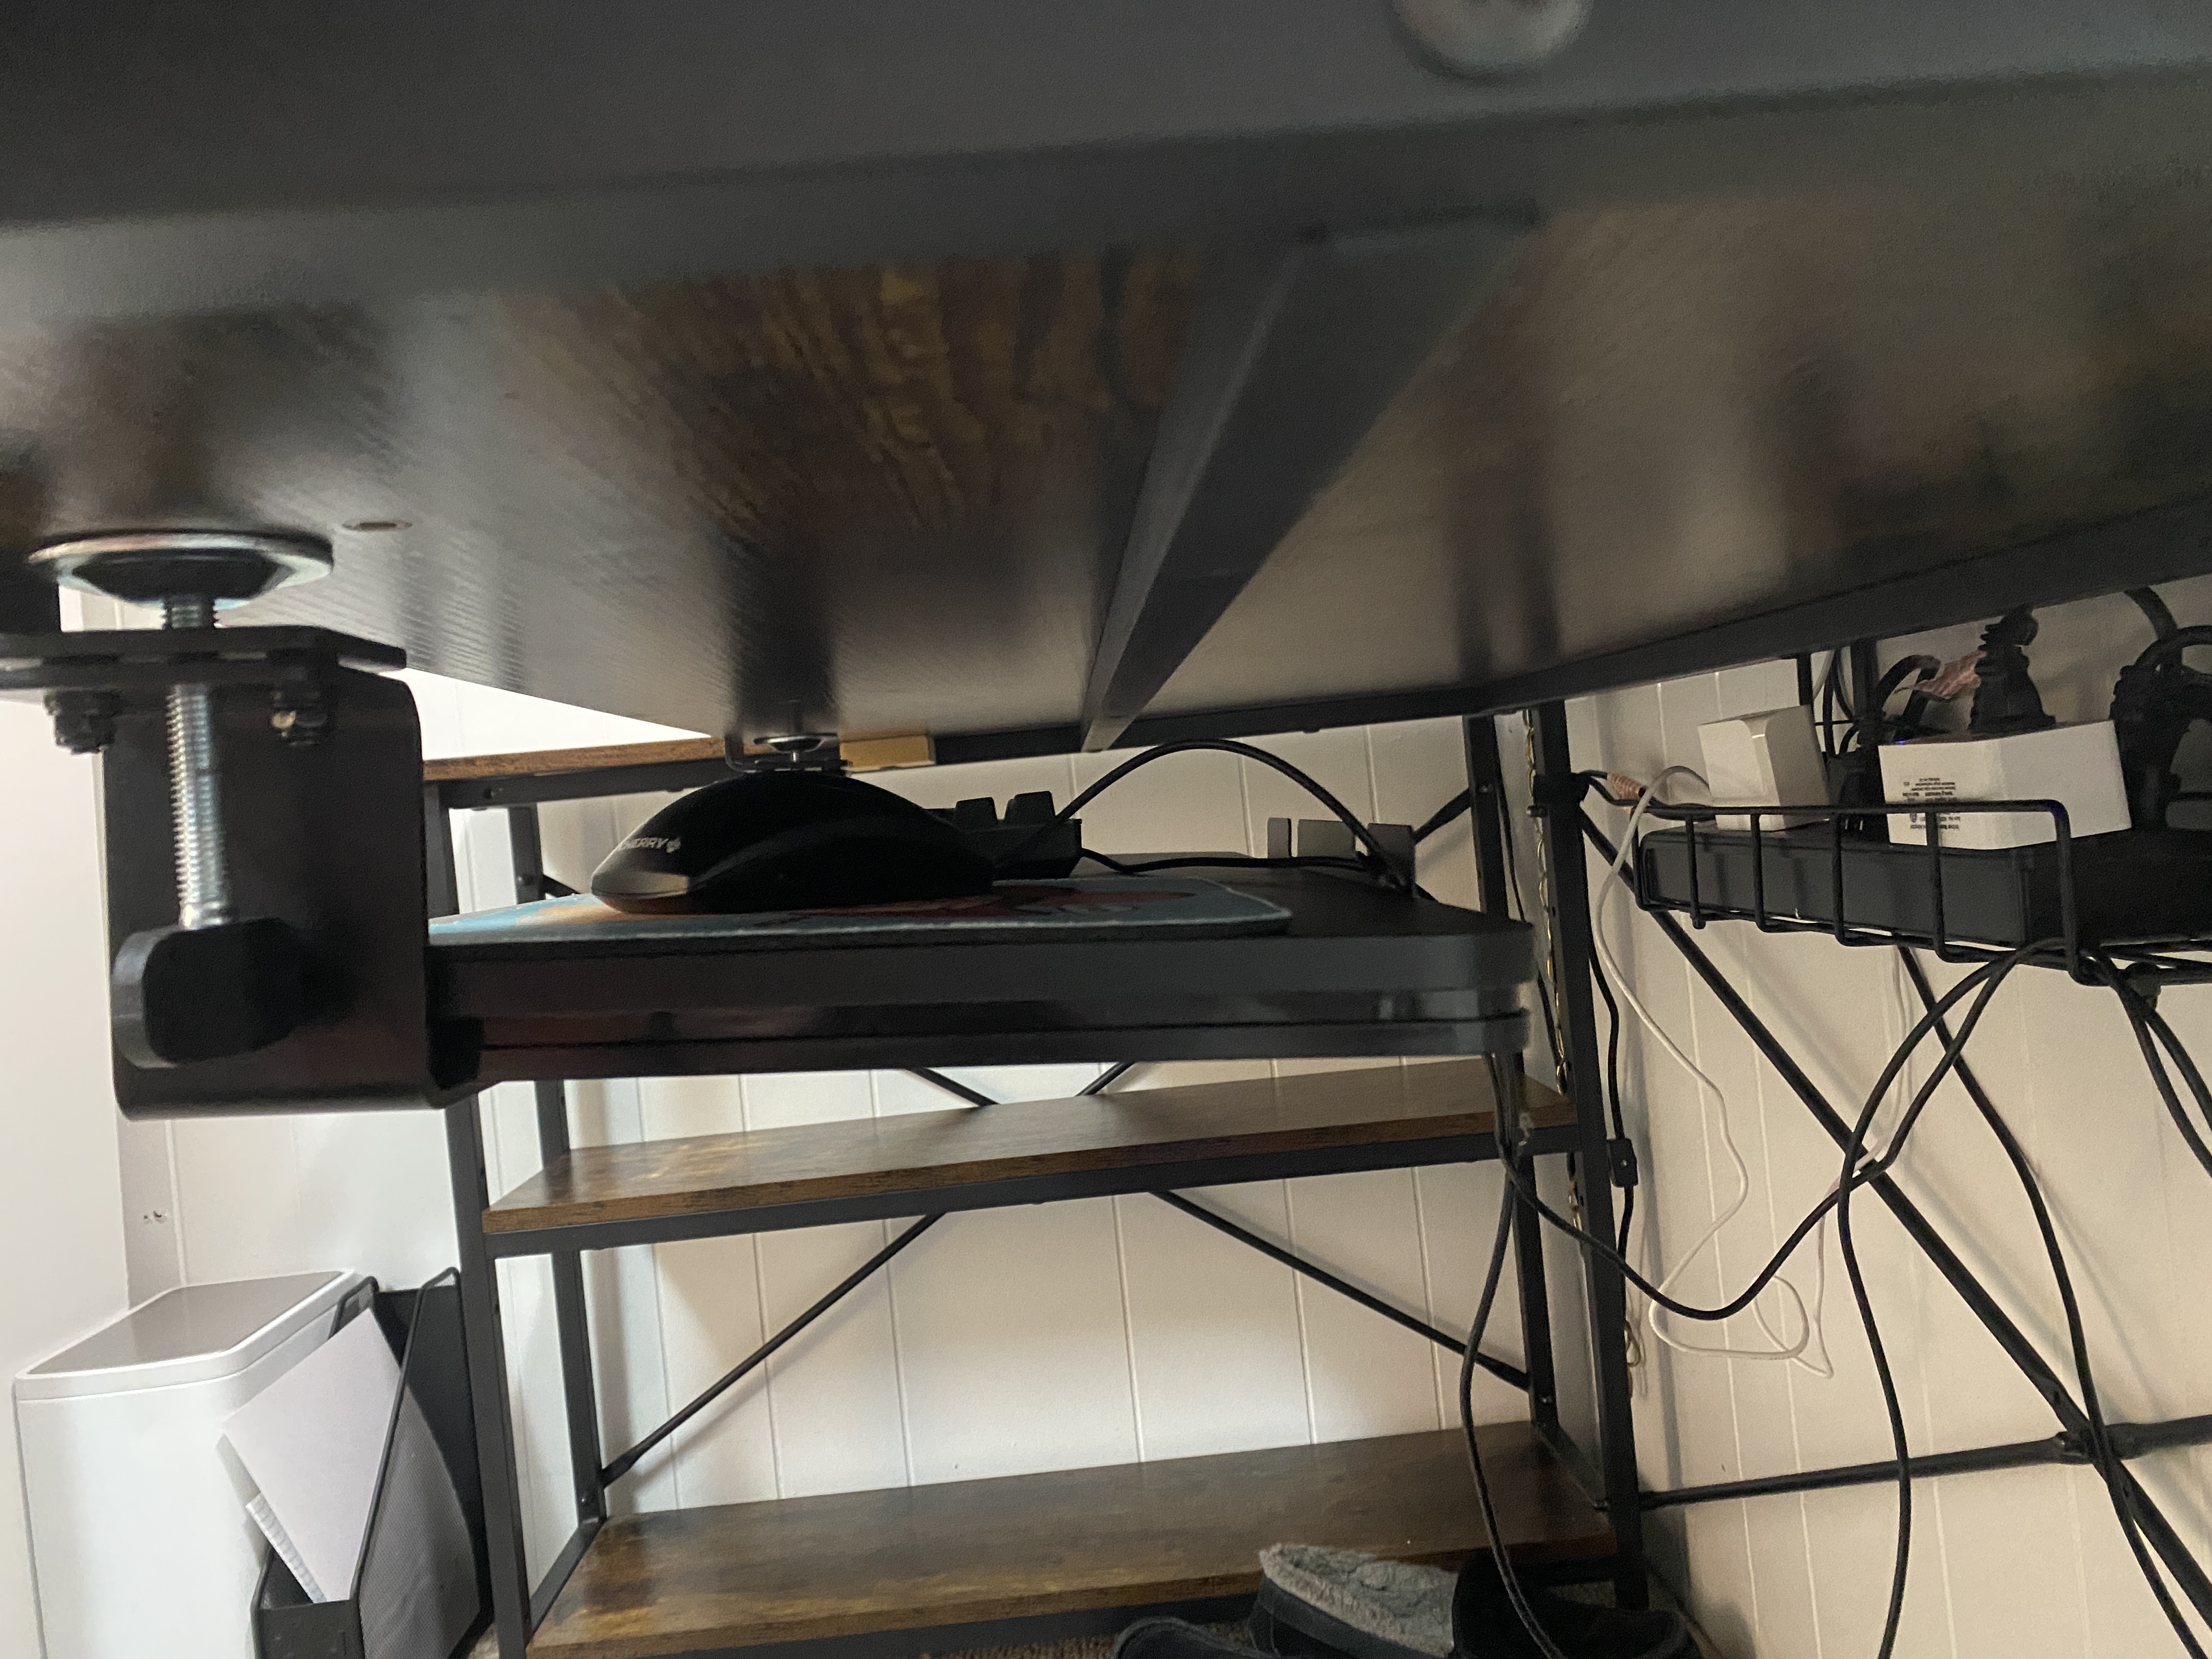
Removing the support from the front right where the two tabletops hooked together did leave them a bit wobbly and misaligned. So to fix that I cut up a new piece of wood, drilled some holes through it, and screwed it in the place where the original bar was to act as a support between the two, keeping them level with each other.
All in all, I'm pretty happy with how the keyboard tray has turned out. At some point I'd like to find some way of getting it mounted at the same height it's currently at without the big wooden blocks on top of the table, but I can have that be a project for a me a few months into the future
Keyboard Tray Part 3
Keyboard tray!
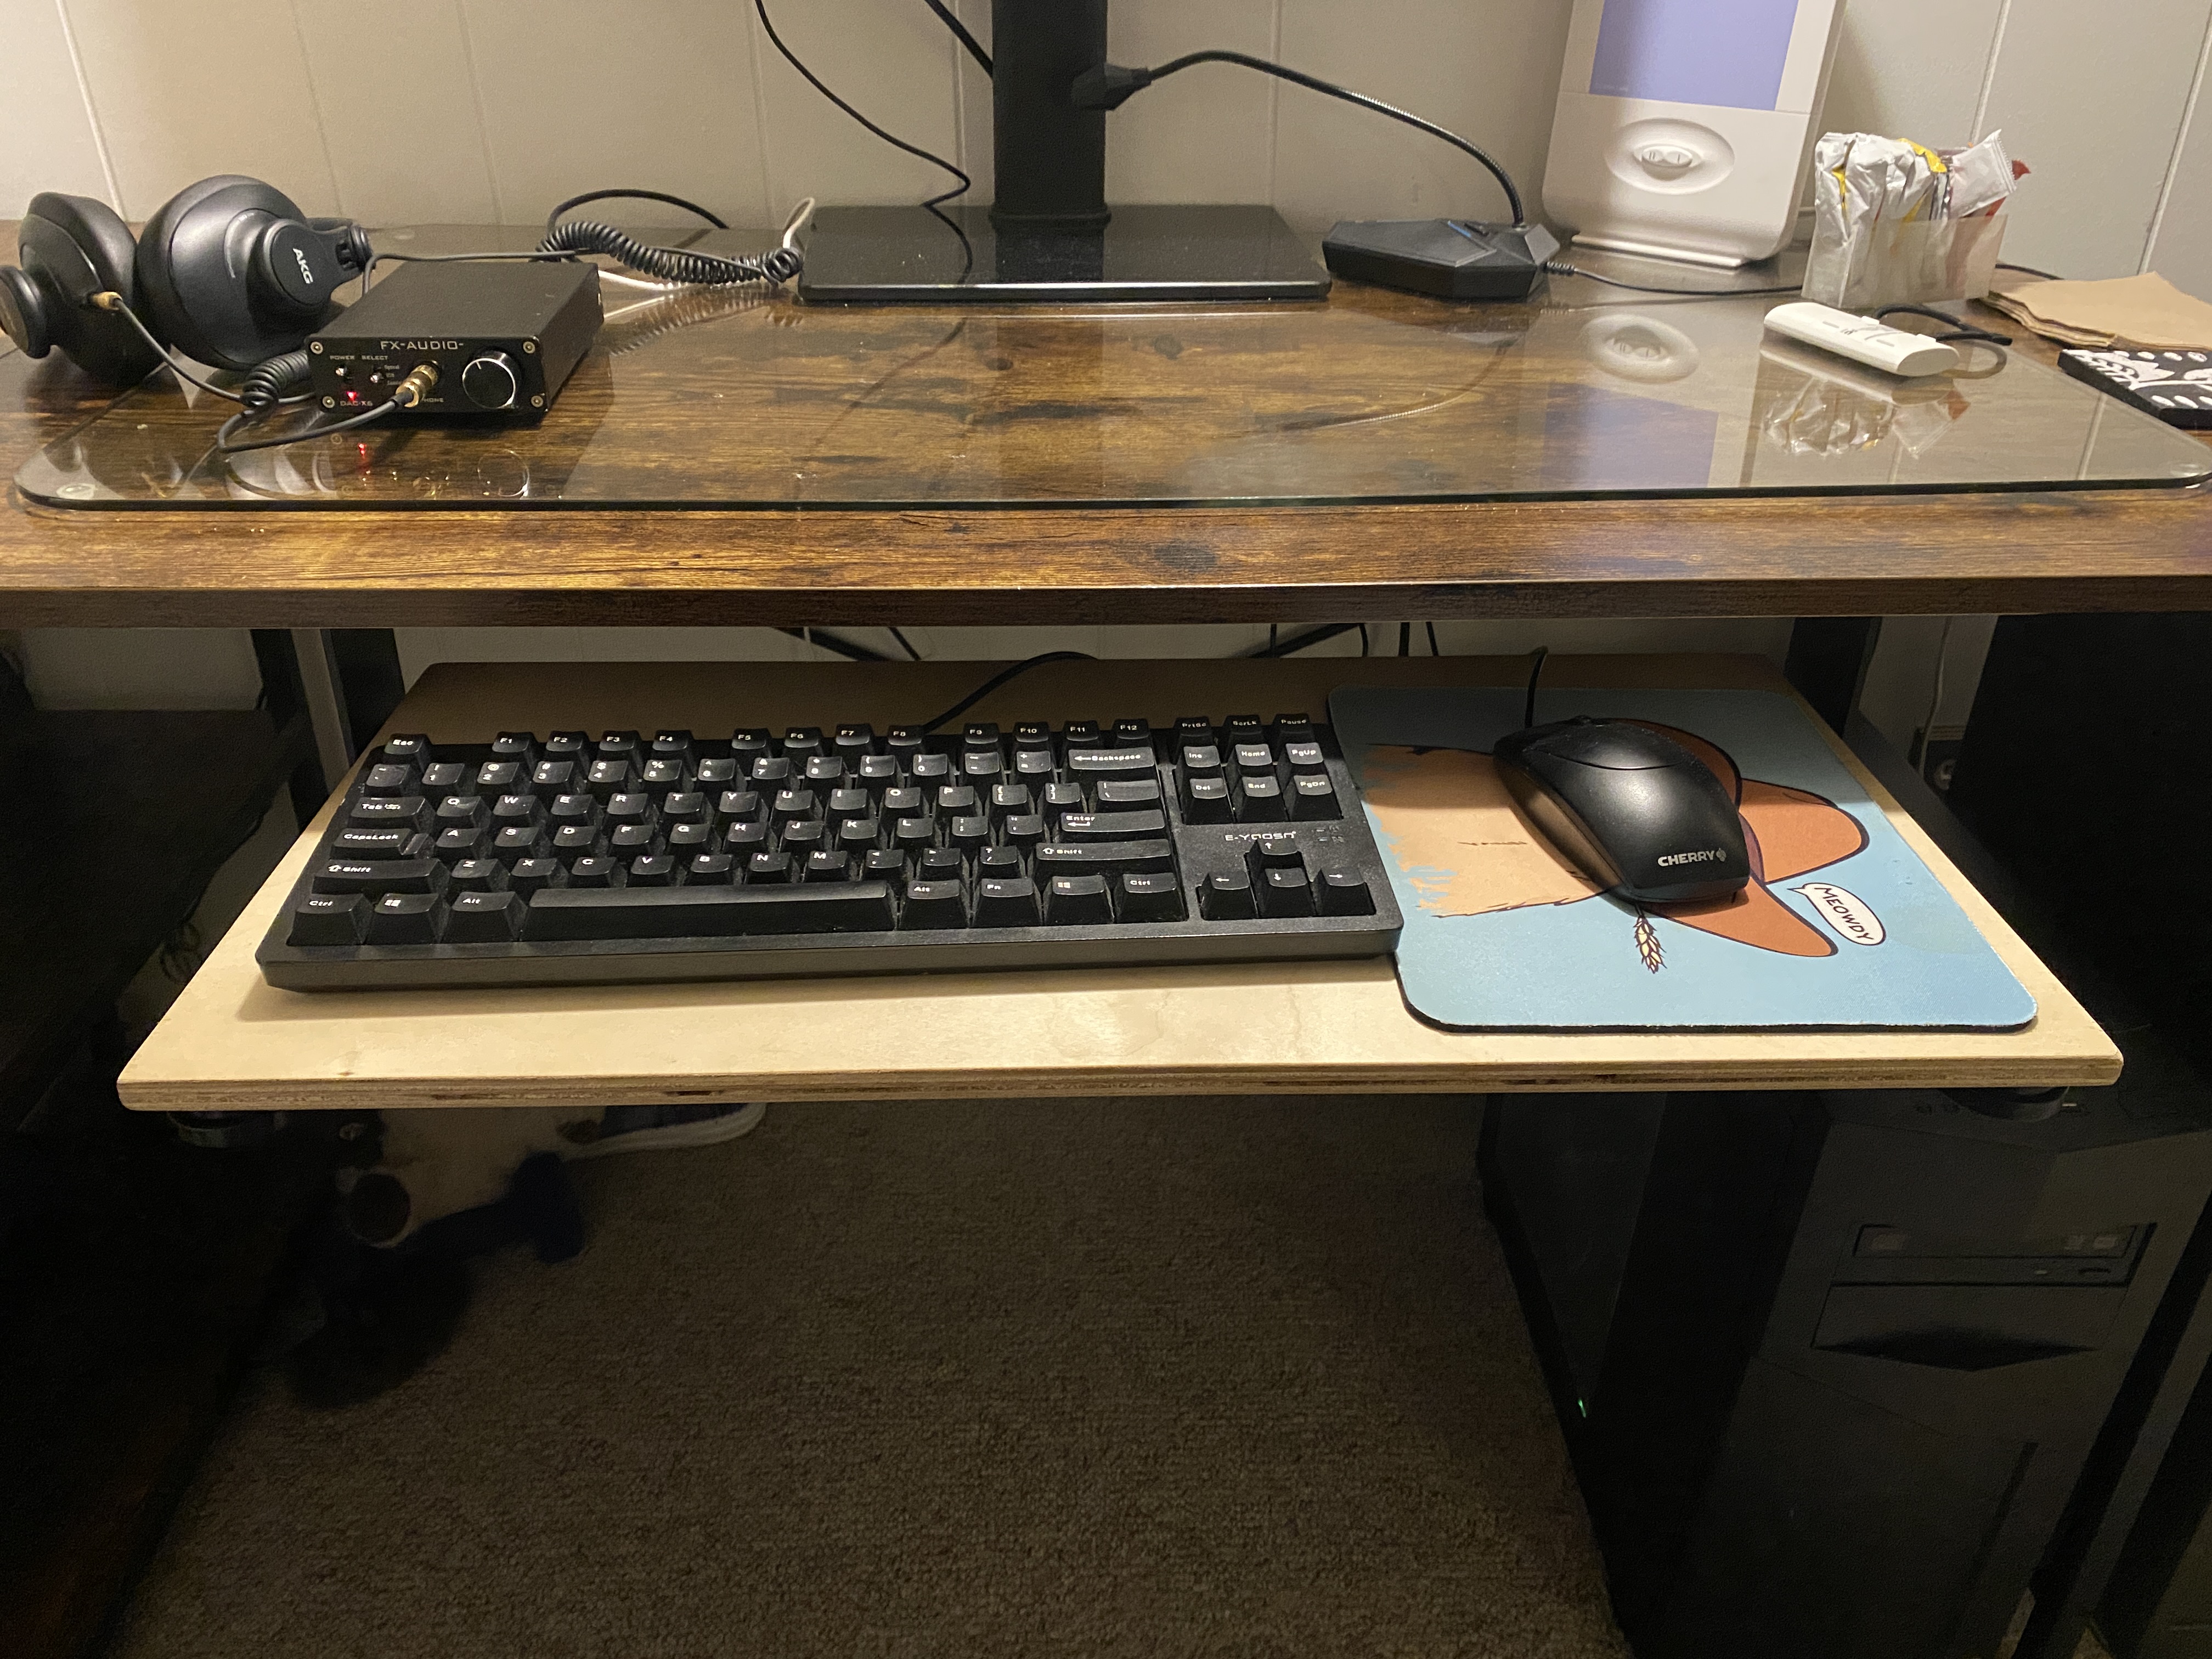
Honestly I hadn't intended to work on this more for a bit, but I had gotten my hands (paws) on a replacement wooden board for my keyboard tray, and when putzing around with my existing tray board to guage how and when I wanted to swap it out, I accidently broke it.
So... when putting it back together I just mounted the slides into the new wood board, and it's working great!
Feels way more solid than the old one did. Much sturdier, is holding itself together way better
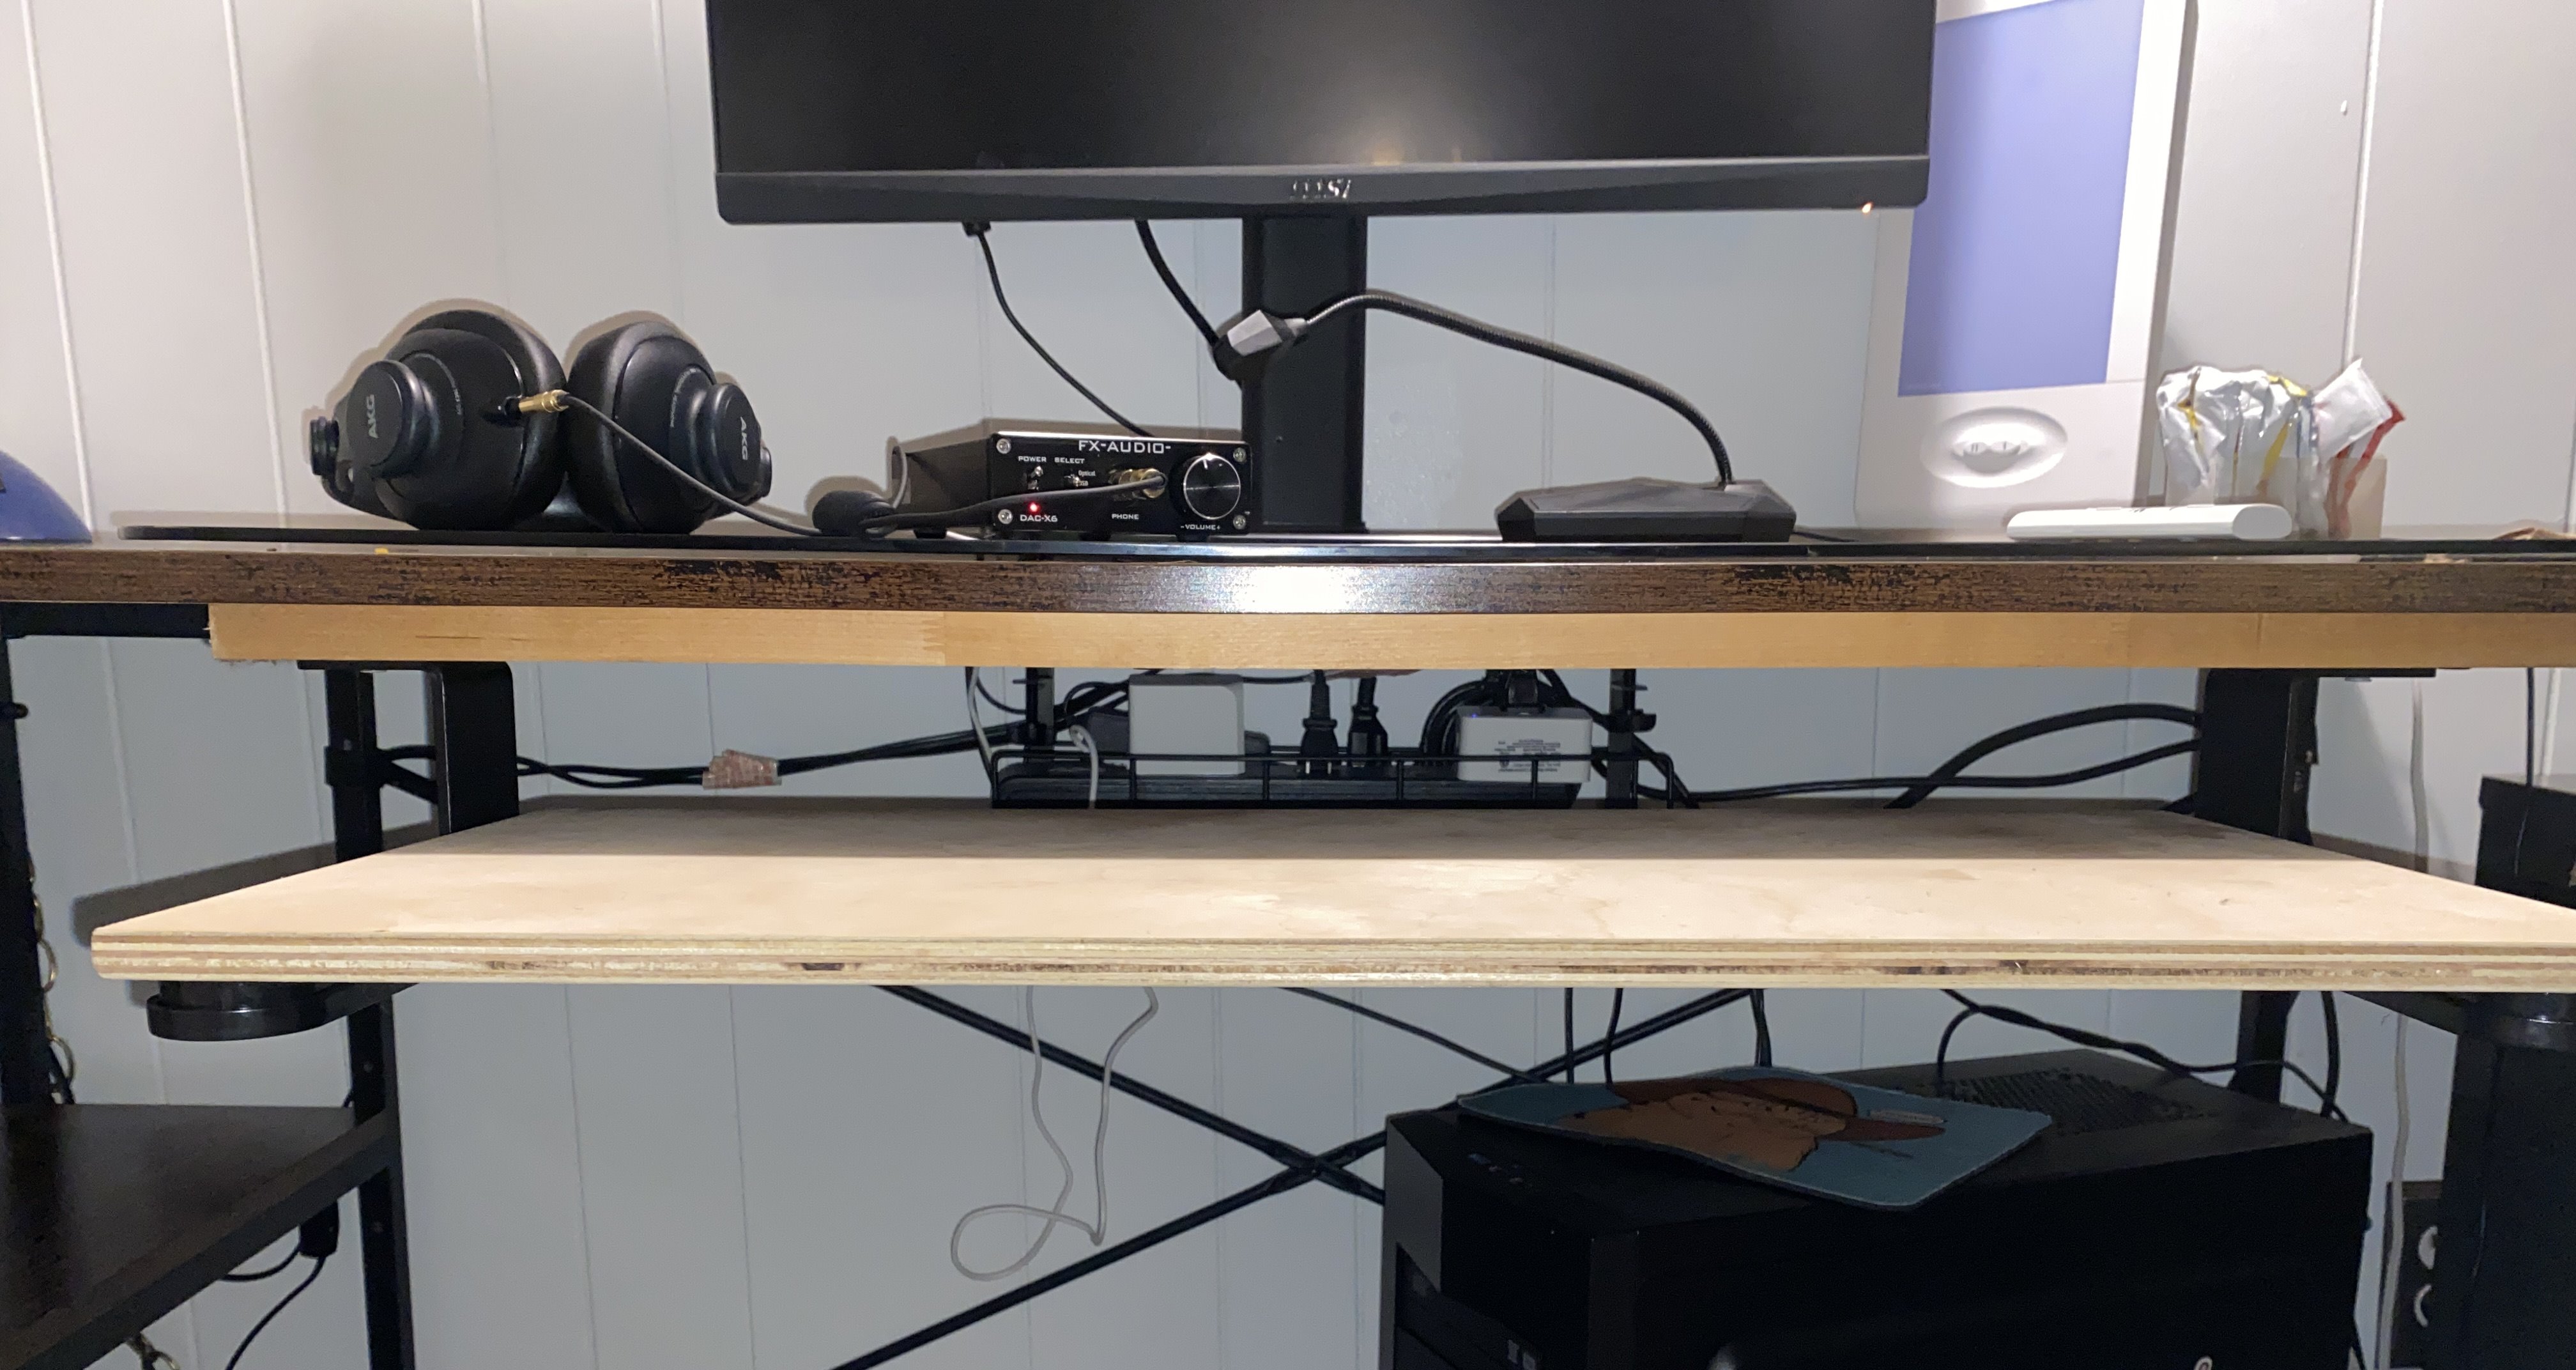
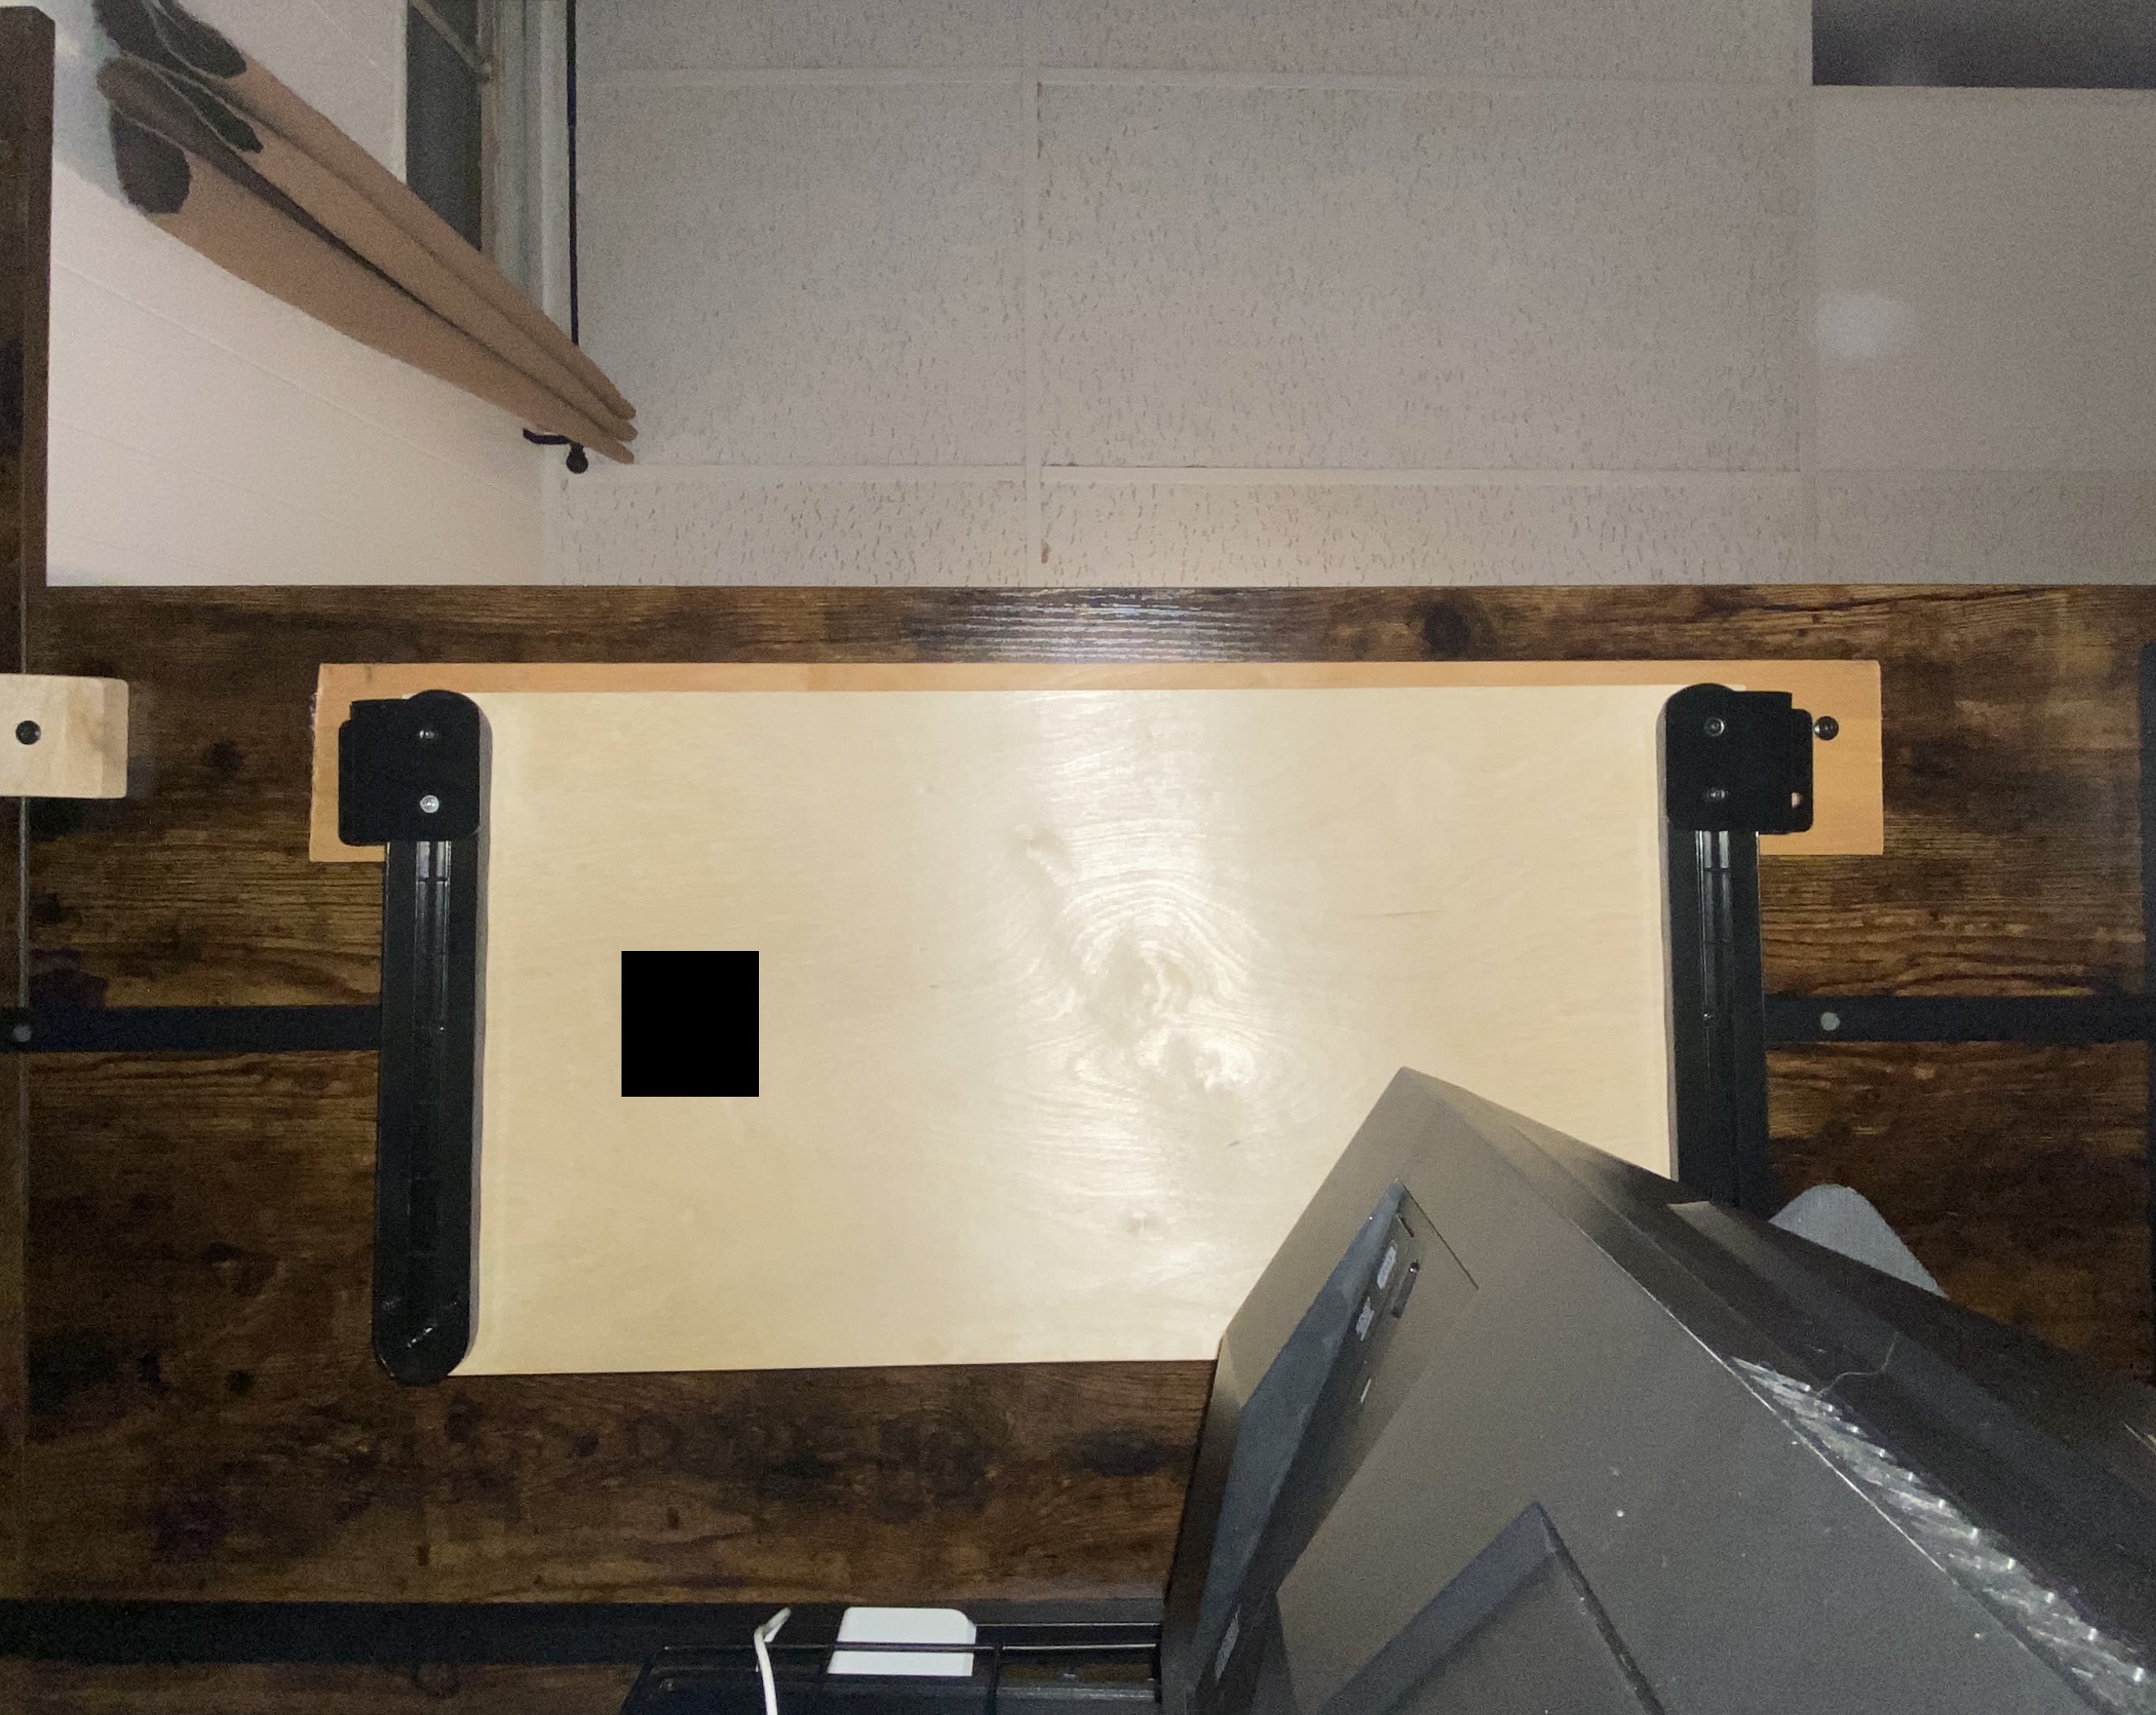
This weekend I'm intending to rework how this is mounted to my desk to let me get rid of the spacer blocks on the top that stop this from running directly into my knees.
First I'm gonna mount another board to the bottom of my desk near the front, where the old crossbar used to mount to the desk. Then I'll remove the clamps from the mount, screwing the mounting mechanism directly into the new board.
Once I do that, I should have the keyboard tray mounted firmly to my desk at about the same height it's currently at, but without any unsightly clamps/spacer blocks taking up a ton of room on the top of my desk
Then, at some point when I get tired of looking at the bare wood, I'm planning to take it all down, sand it a bit more thoroughly to look all pretty and stuff with some nice rounded corners, and then stain it
All things considered, this whole project is more a call for people to modify and tinker with the stuff they own. A lot of these things aren't that hard to do, you can do them with just about anything you've got on hand, and they can vastly improve the quality of the things you own for incredibly cheap
Keyboard Tray Part 4
Okay it ended up taking a month, but I have done it!
Wanted to get the way this worked improved before my new Unicomp keyboard shows up tomorrow. Wanted to have this thing nice and solid for my experience using that, and I'm pretty happily at that stage now with the tray
Really, the only complication in the whole process was that getting the clamps off was a bit...
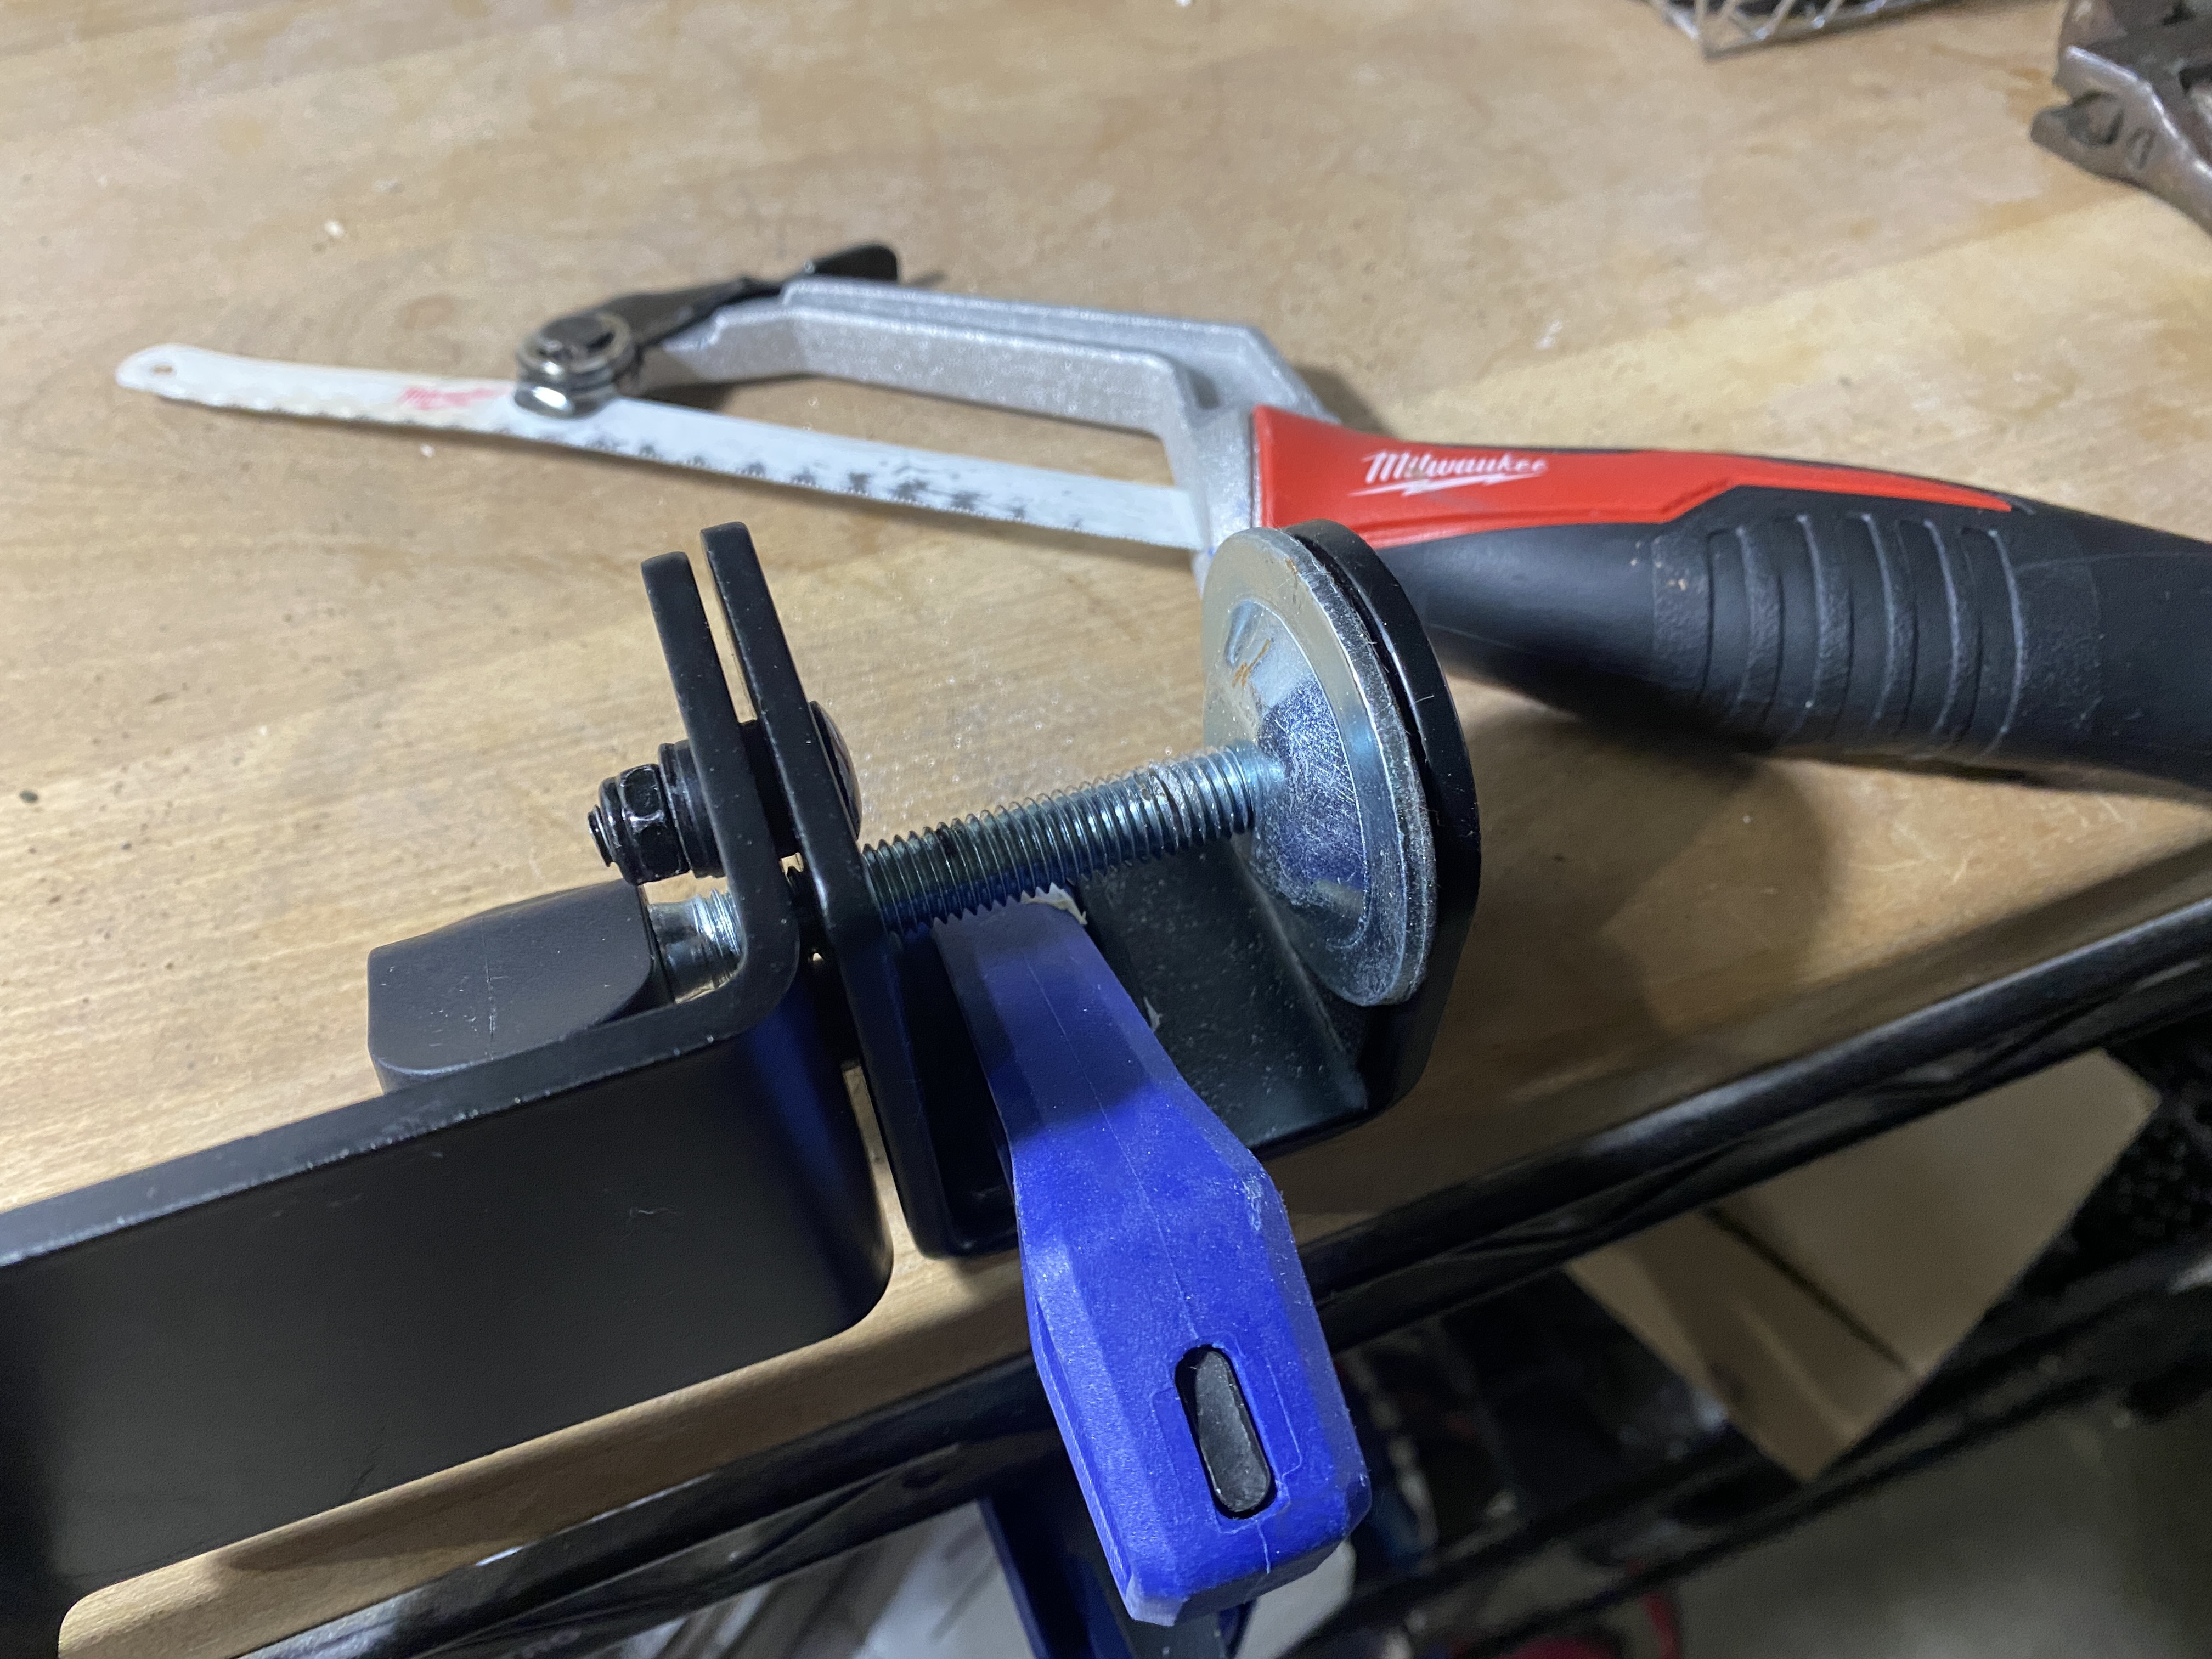
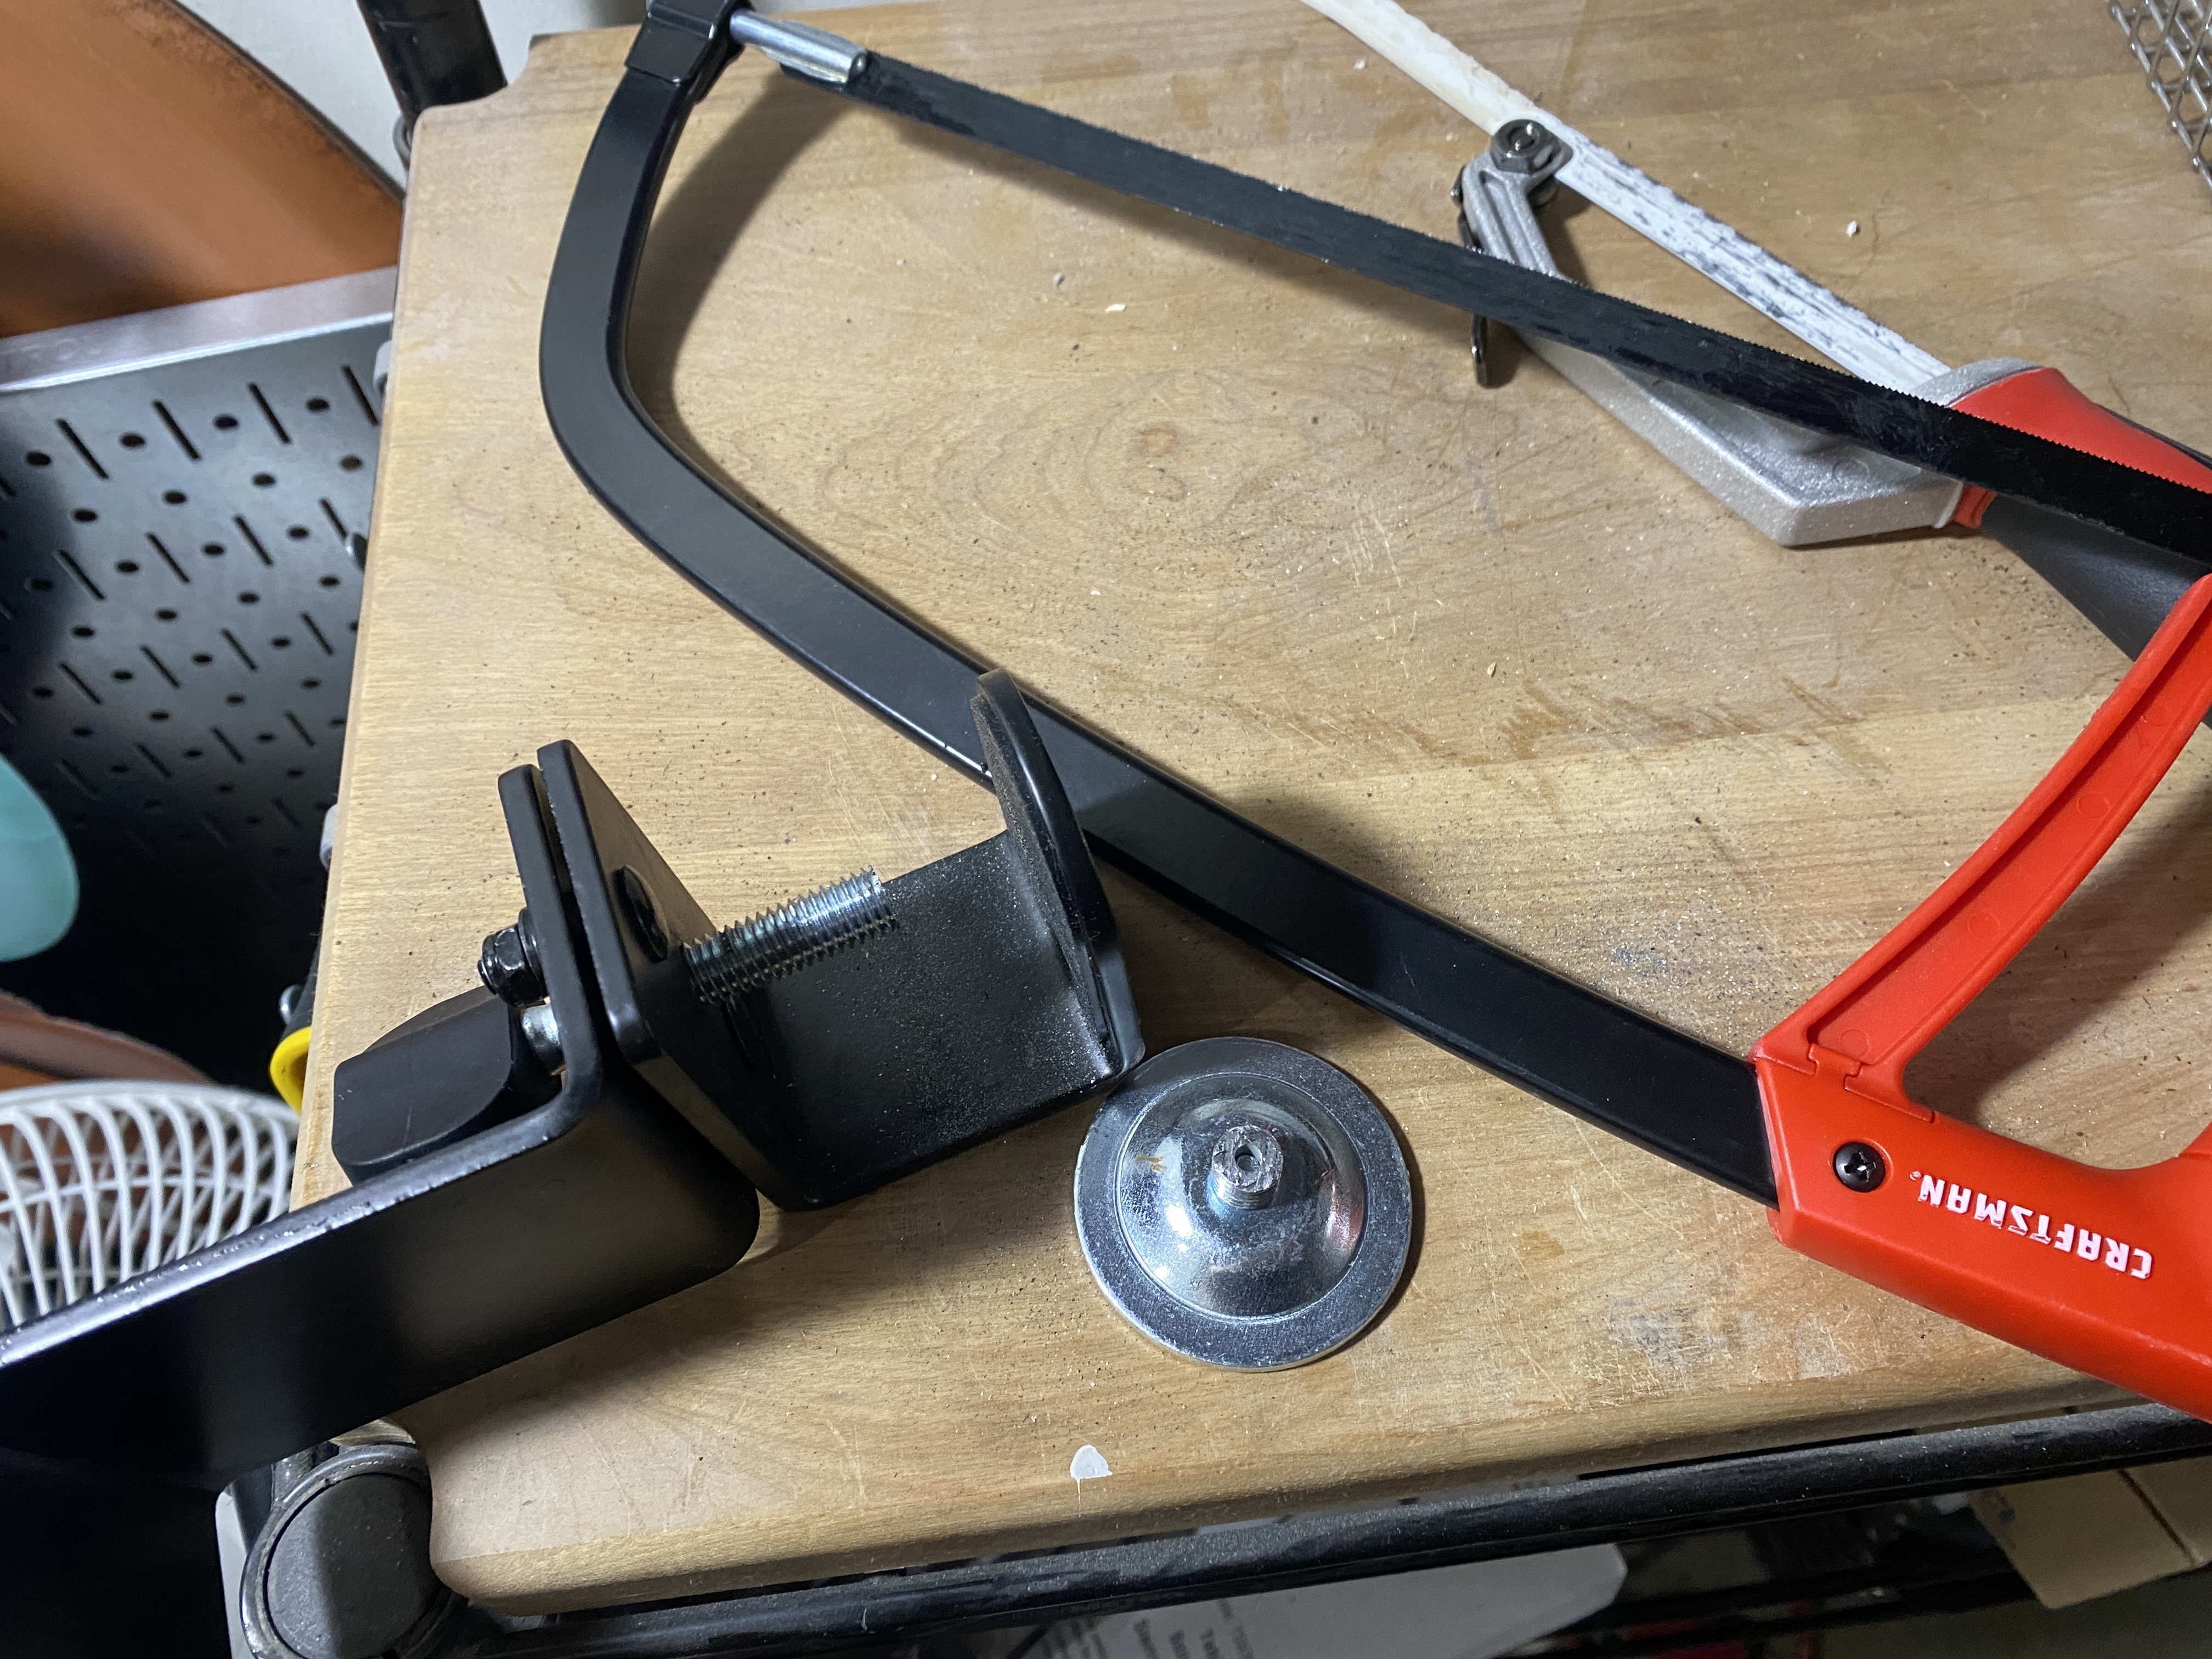
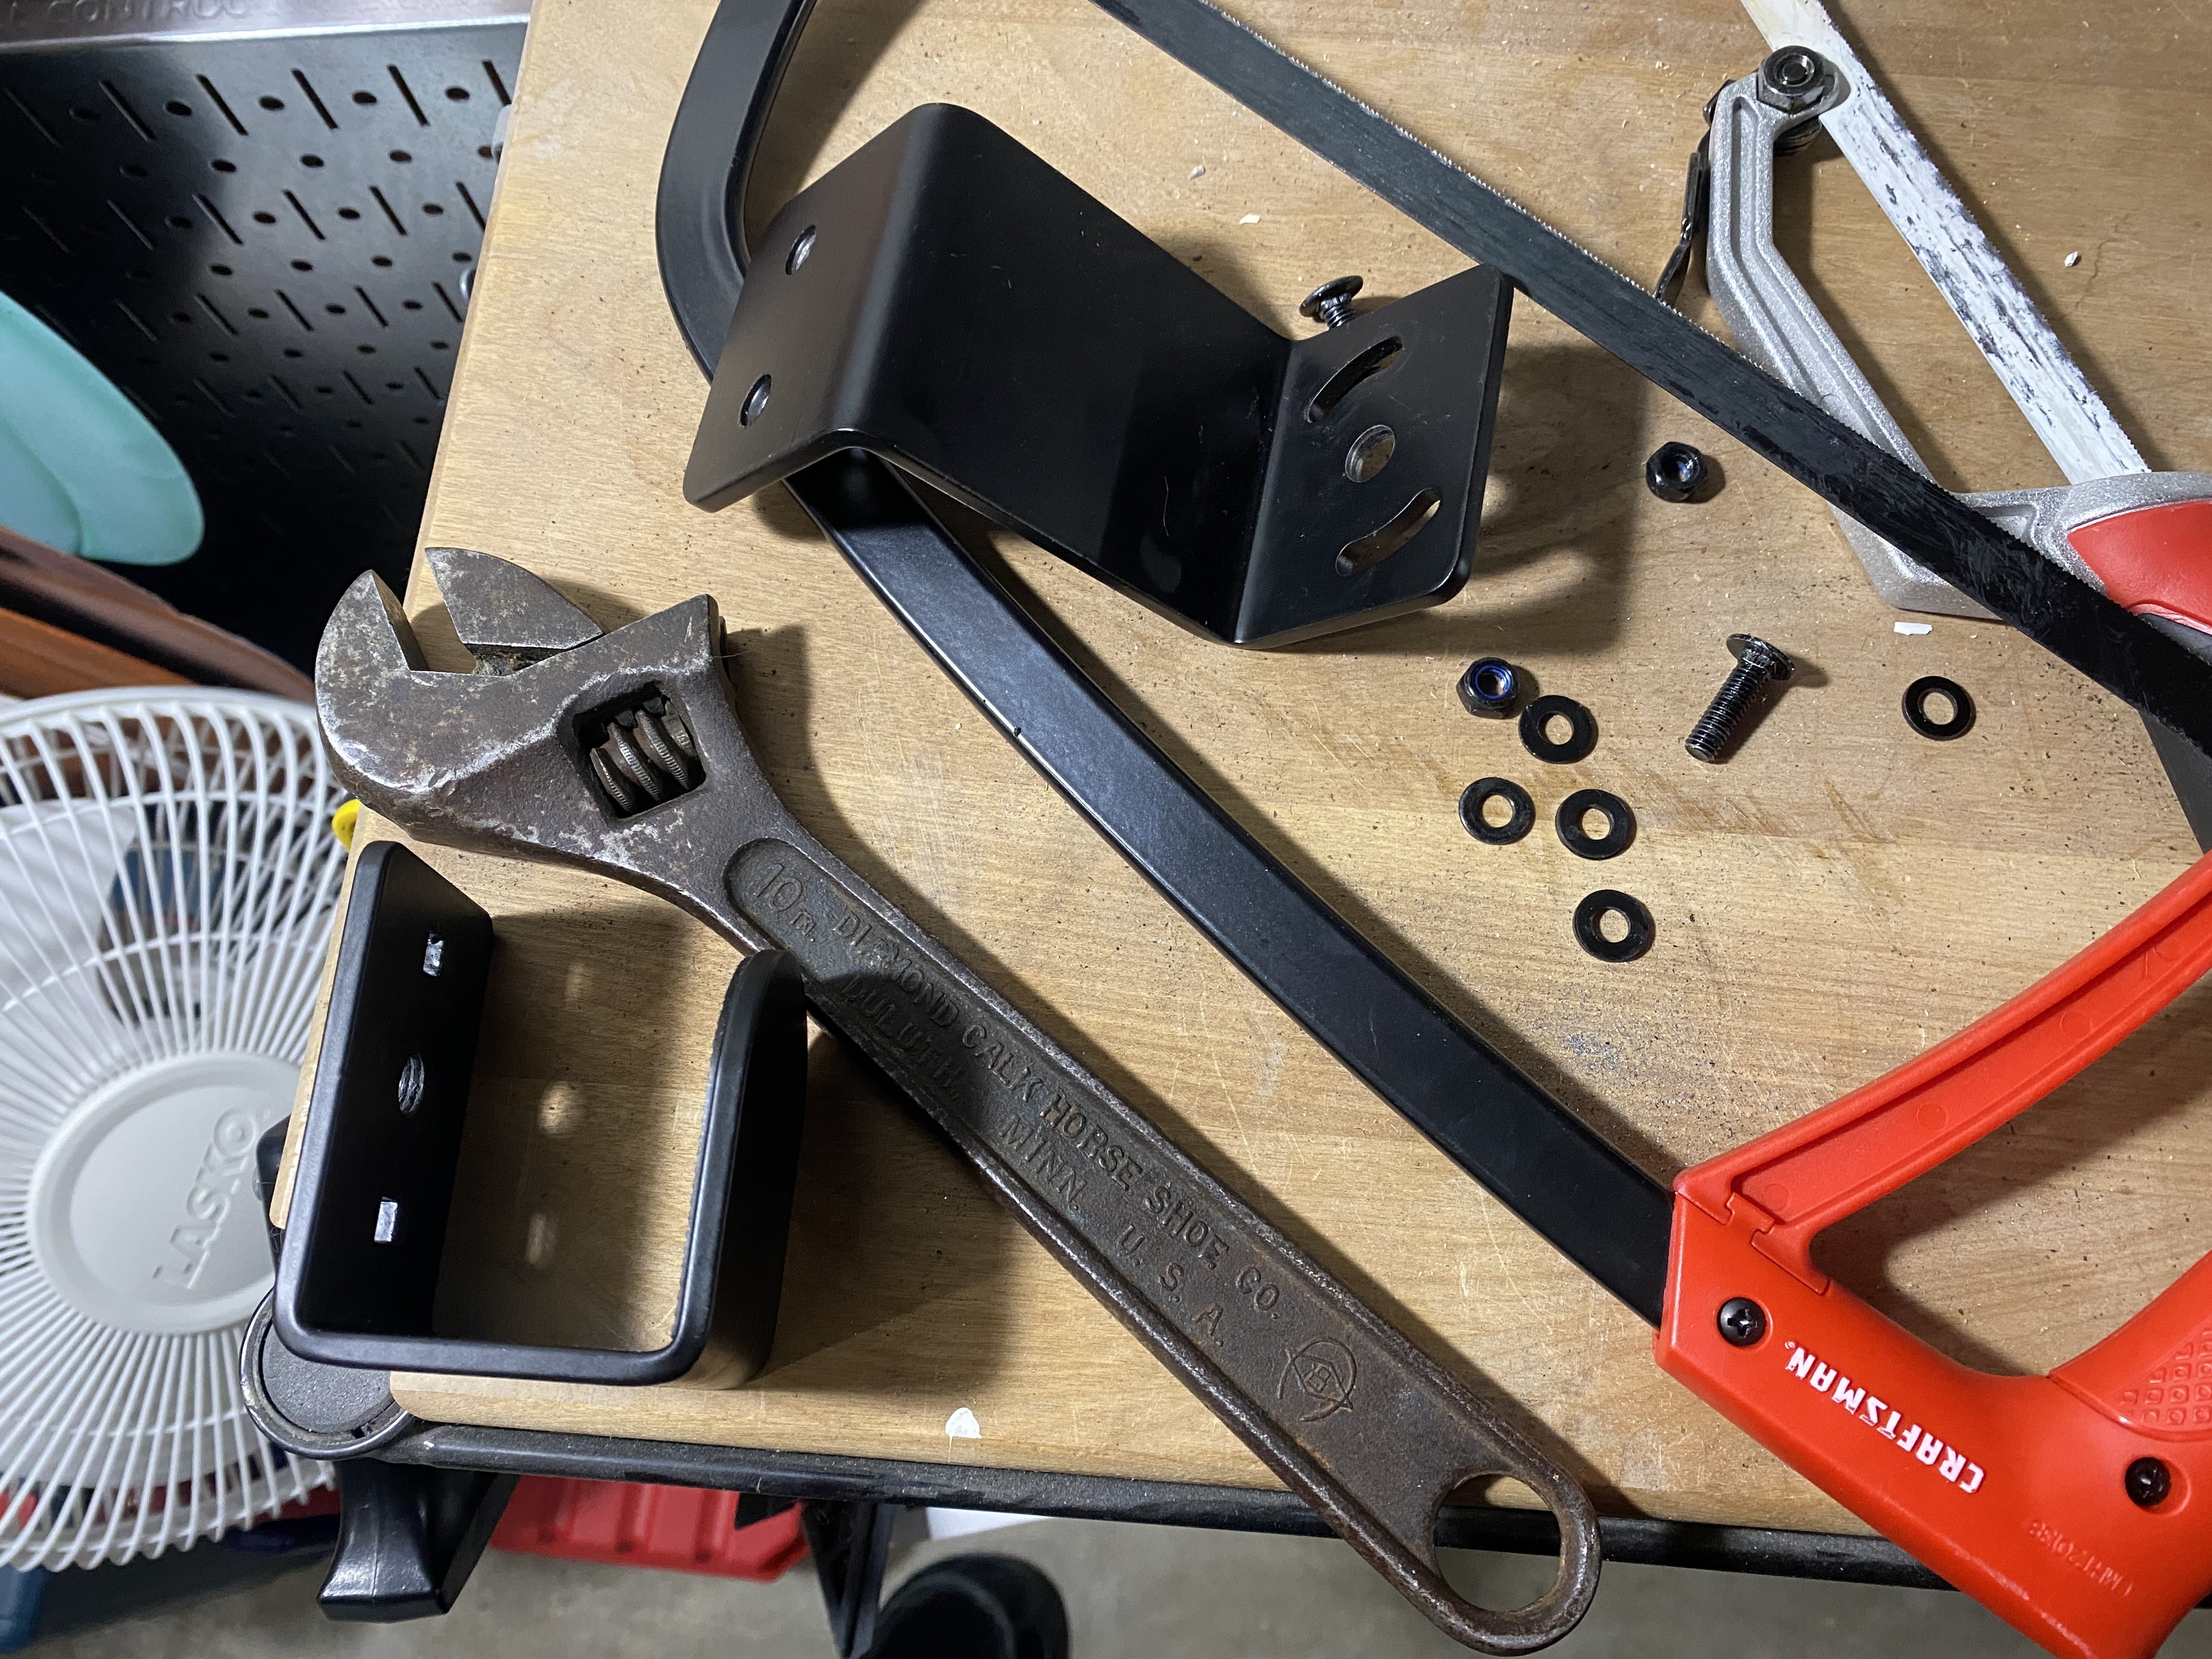
...Complicated
Hehehehe
Overall, I'm pretty happy with how this turned out. It could definitely still use a coat of woodstain at some point to make the tray match the desk a bit better.
Functionally though, this is pretty much perfect. As long as nothing on it breaks, this tray will live as long as this desk does.